Using CSS, you can change various aspects of the bot to best suit your website. From being able to move the widget around from right to left, to automatically opening the chat window when a customer lands, this tutorial will explain how to alter certain appearances of your widget.
Before you begin tweaking your bot, you’ll have to install Verloop.io on your website.
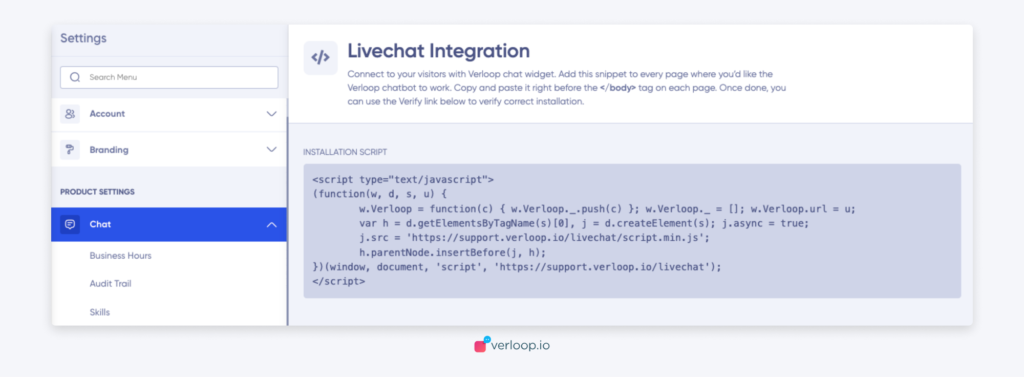
When you log into your account for the first time you will receive a snippet for the chat widget. You can always go back to this snipped from Settings > Chat > Installation or directly go to
<yourcompanyname>.verloop.io/v2/settings/chat/installation
Add this snippet to every web page where you’d like the Verloop.io chatbot to work. Copy and paste it right before the </body> tag on each of your web pages.

Use the code snippet to install Verloop.io chatbot
Moving the Widget (from left to right)
Now that you’re done installing Verloop.io, you might want to move the widget from the right side of the page to the left so it better suits your site.
The way to do this is simple. Your existing HTML code should look like this –
.verloop-container {
    position: fixed;
    right: 20px;
    top: 20px;
}
Simply change the ‘right’ to ‘left’. To ensure the chat opens on the left side of the screen as well, you’re going to need to change the position of the button as well.
.verloop-button {
position: fixed;
bottom: 20px;
right: 20px;
}
Again, change the ‘right’ to ‘left’, and you’re good to go. In the same way, you can also shift your bot around to the top of your site should you want it there.

