Sparks
Sparks is a quality analysts’ and managers’ partner, which helps in analysing all the conversations in no time. The solution is powered by LLM, thus enabling it to assess conversation instances based on what Spark instances you will set up.
To get started, you will first need to create Spark instances in the platform. Once you have created these instances, the solution will use the power of LLM to assess conversations and showcase all the instances’ data.
Now, without further ado, let us give you a walkthrough of Sparks.
Create a Spark
Navigate to the Sparks dashboard and select “Add new Spark” located in the upper right corner.
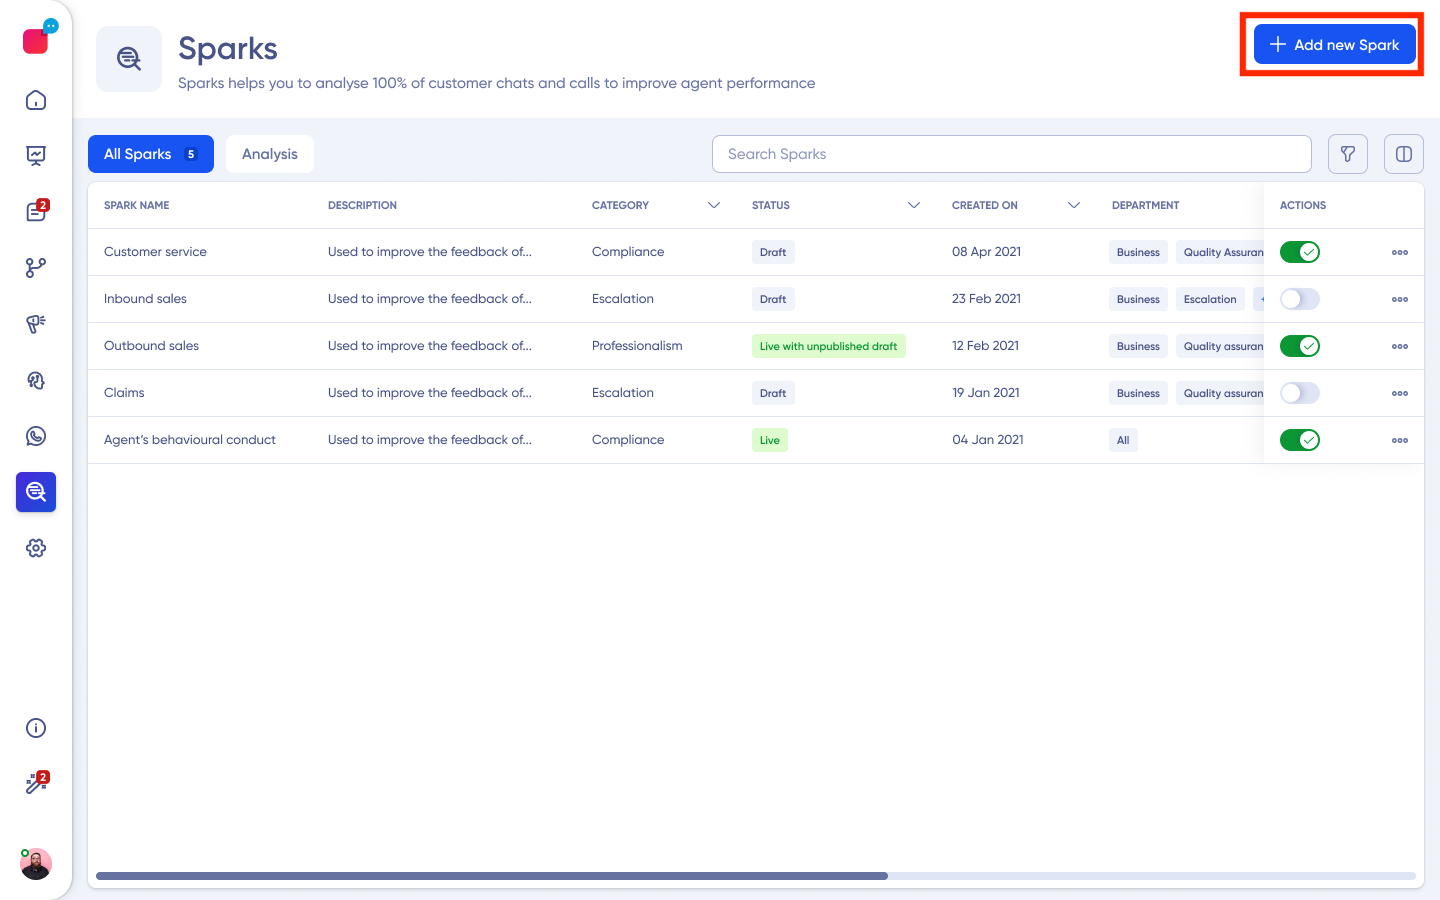
After this, add the preliminary details to get started with creating the Sparks.
Spark templates to help understand and use pre-built templates
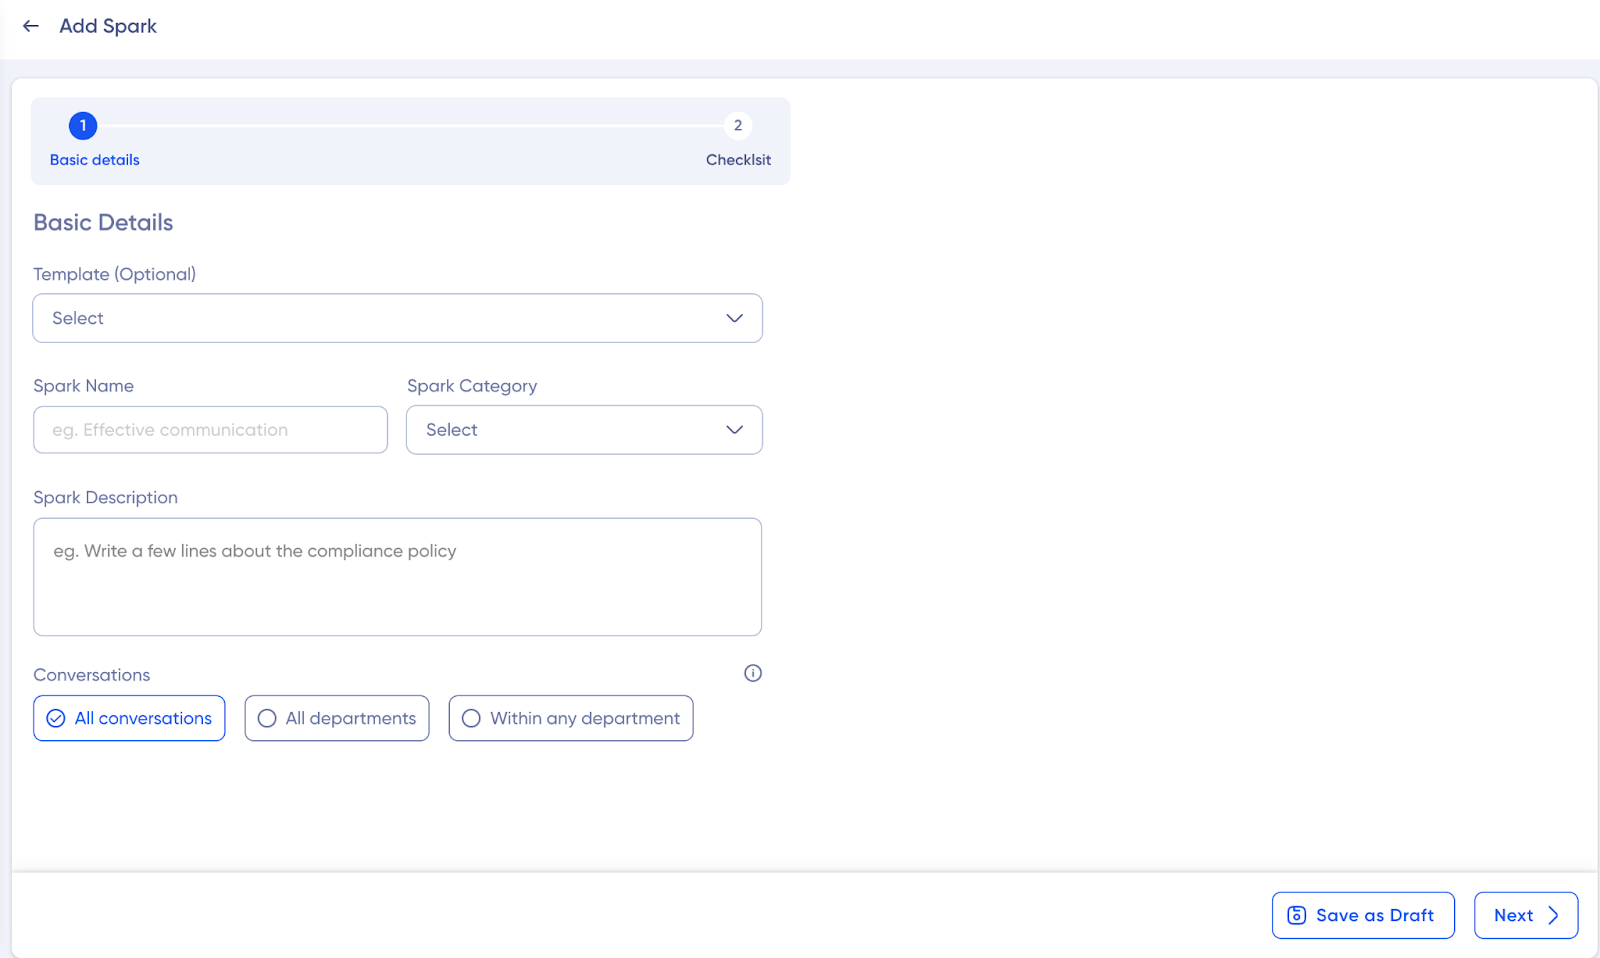
- Spark Name: Add a relevant name of the Spark, which you might need later.
- Sparks Category: The category under which you want to create this Spark
- Spark Description: A small description you can add here defining the Spark.
Then select if you want the system to run audits on:
- All conversations
- All departments
- Or within any department specifically.
Then just click on “Next.”

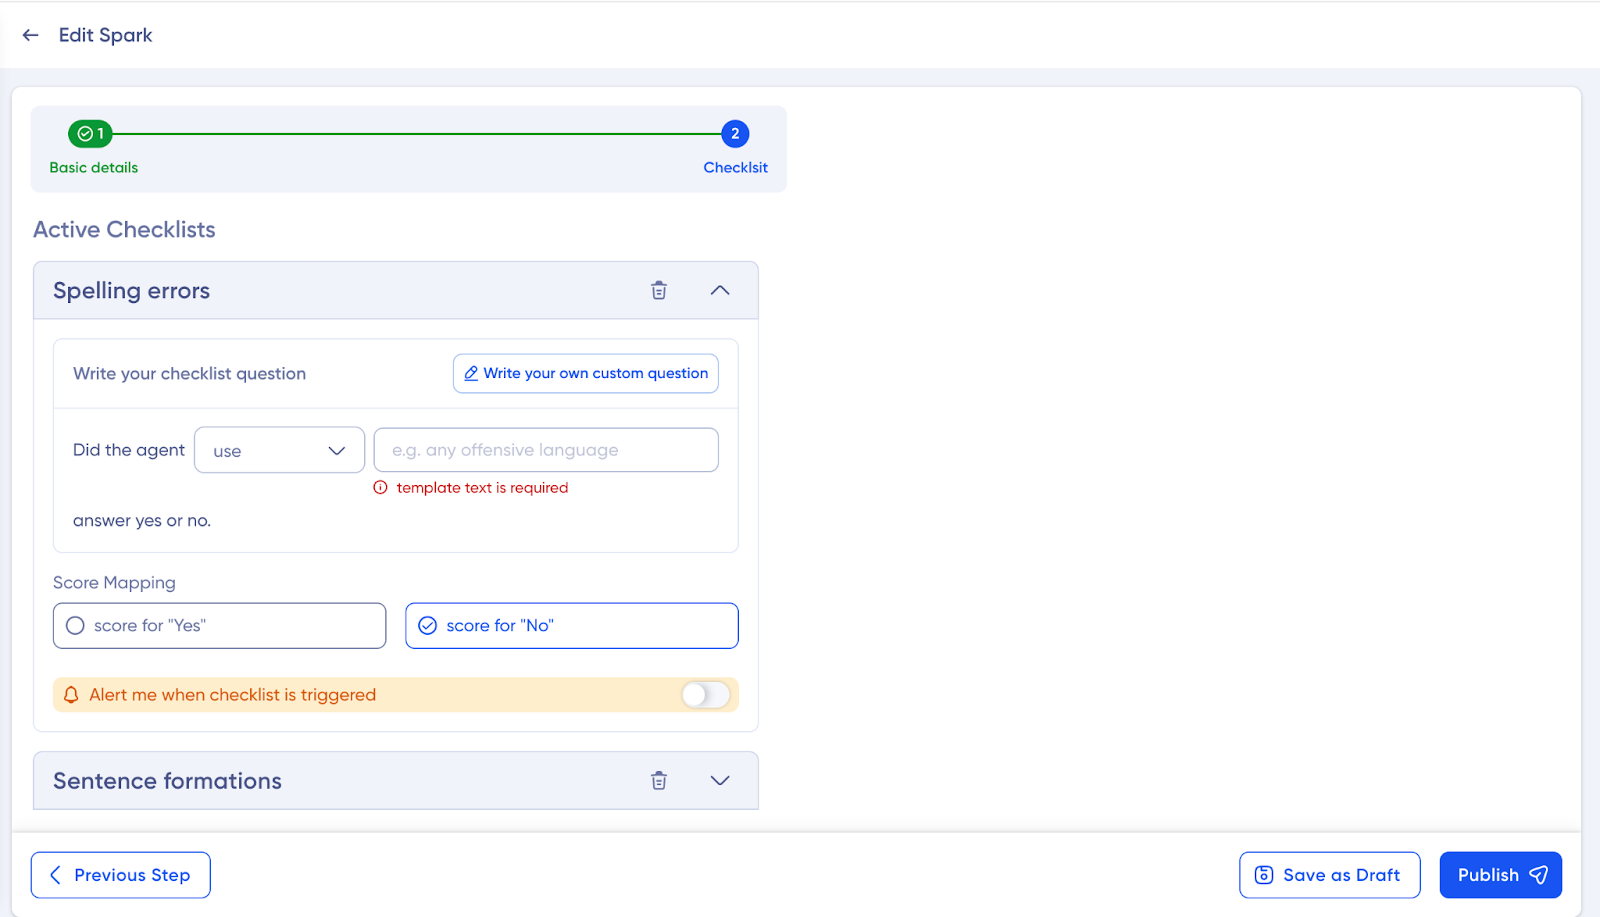
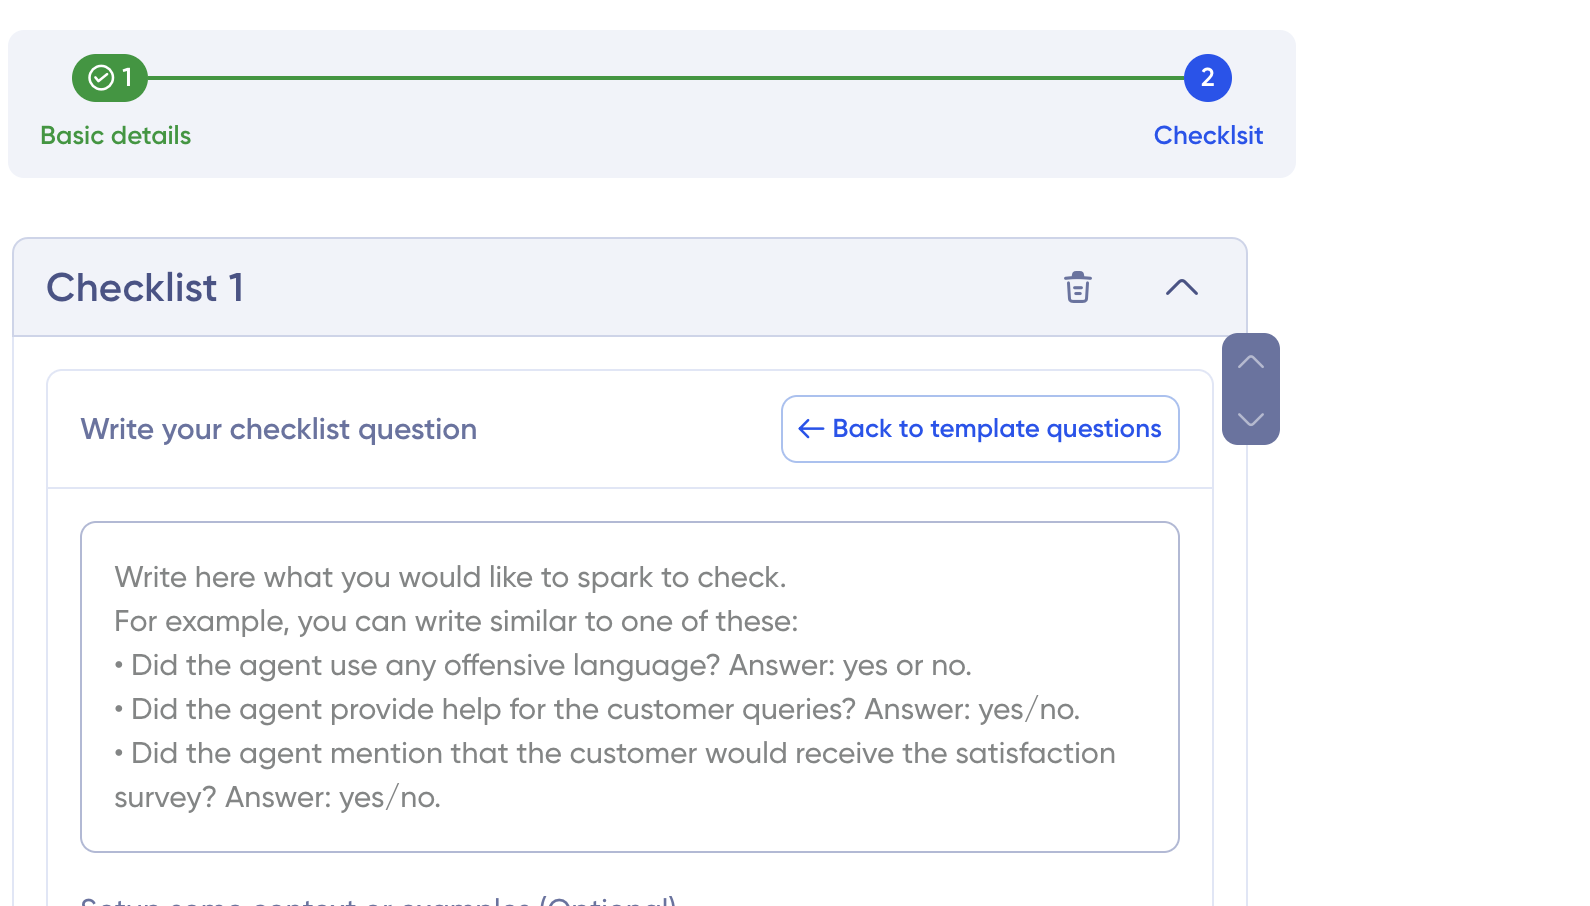
Once you have done that, the next step is defining the Spark and adding its checklist. Checklists is nothing but instances in a chat that you want to check
You can name the checklist here and even delete it later as per your needs.
First, you have the option to either write your own custom question where you can add the prompt to define the Spark:
For example: “ Check if the agent has greeted the customer with polite salutations like Good morning, Good evening and Good afternoon.
Or you can use the template given to define the checklist. Select whether you want to check if the agents have used certain phrases, mentioned anything, apologised, sent offers, etc.
Then add the phrase you want to check.
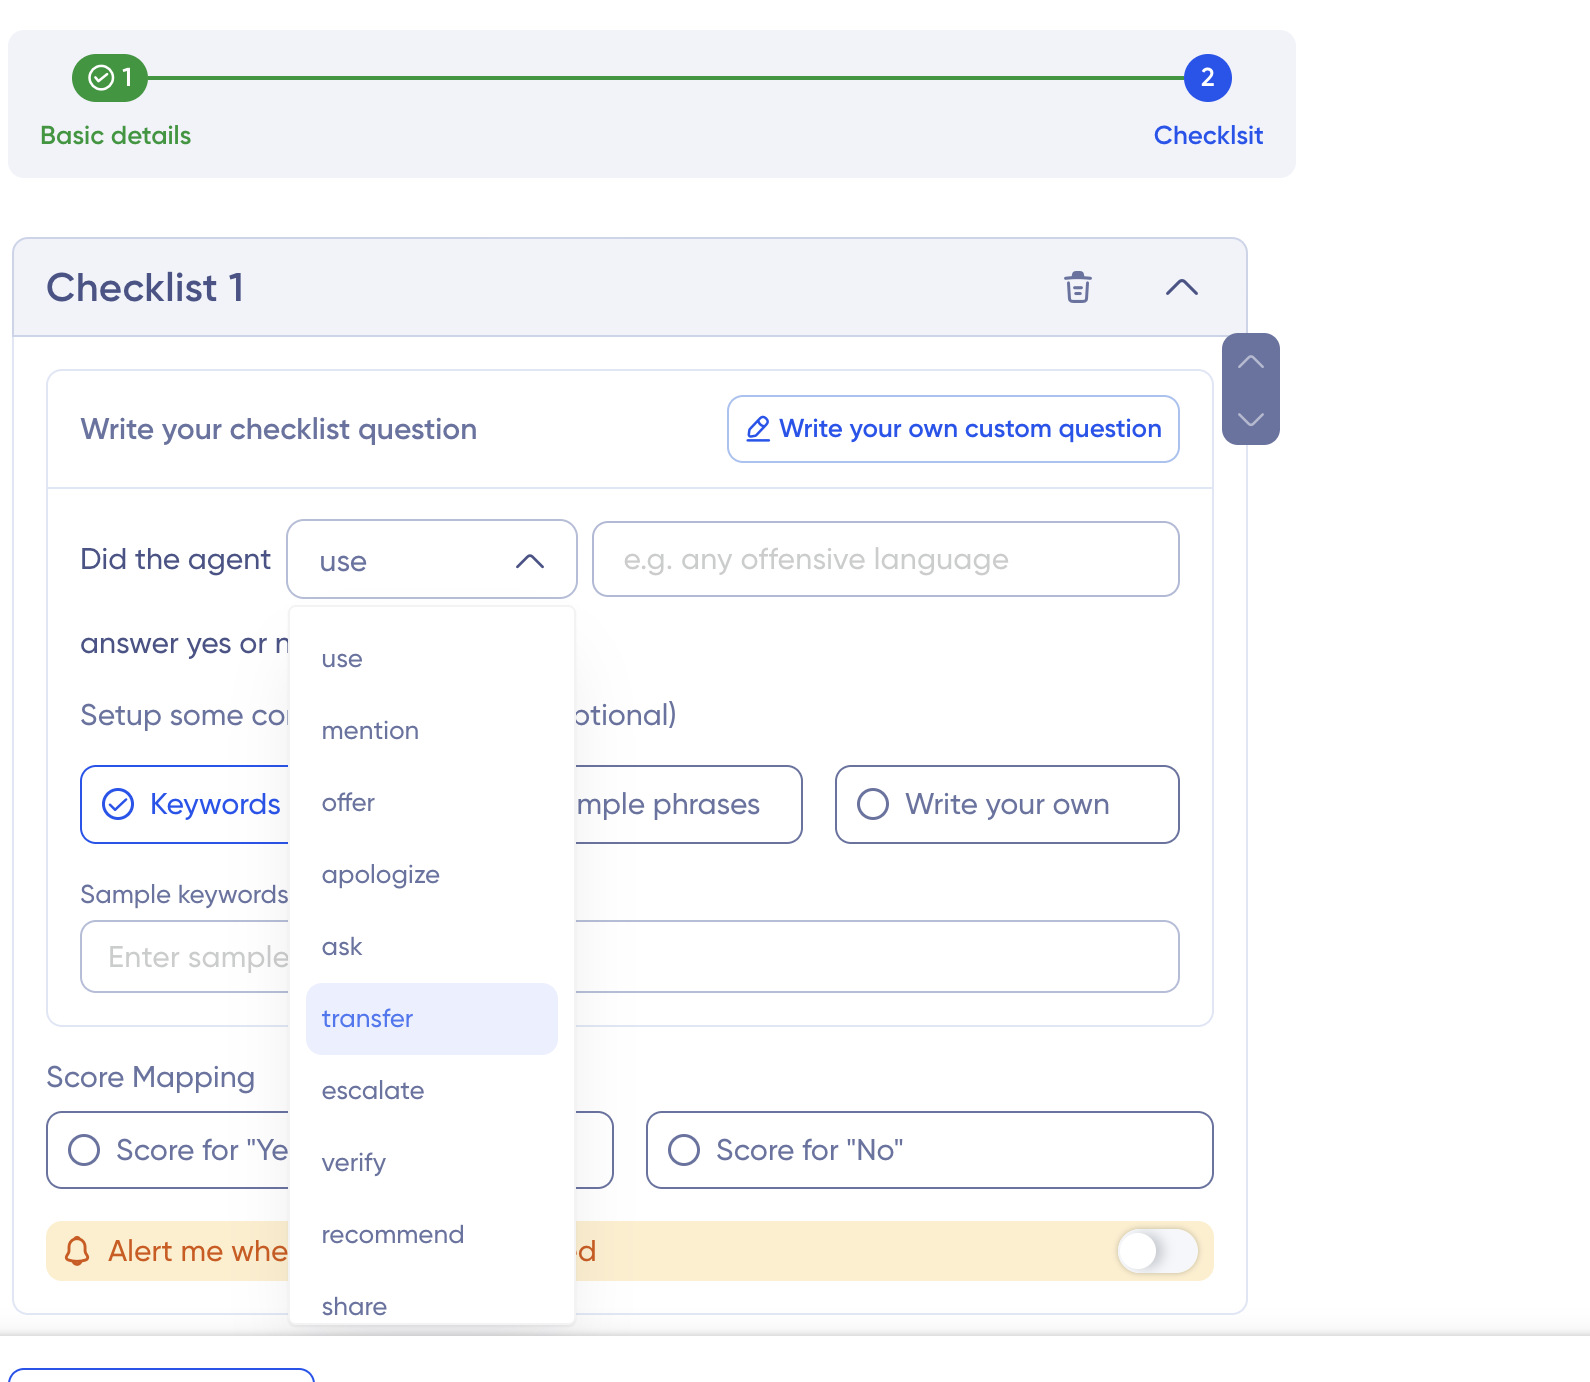
After that, specify if you want to check certain keywords and then add sample keywords. This is completely optional.
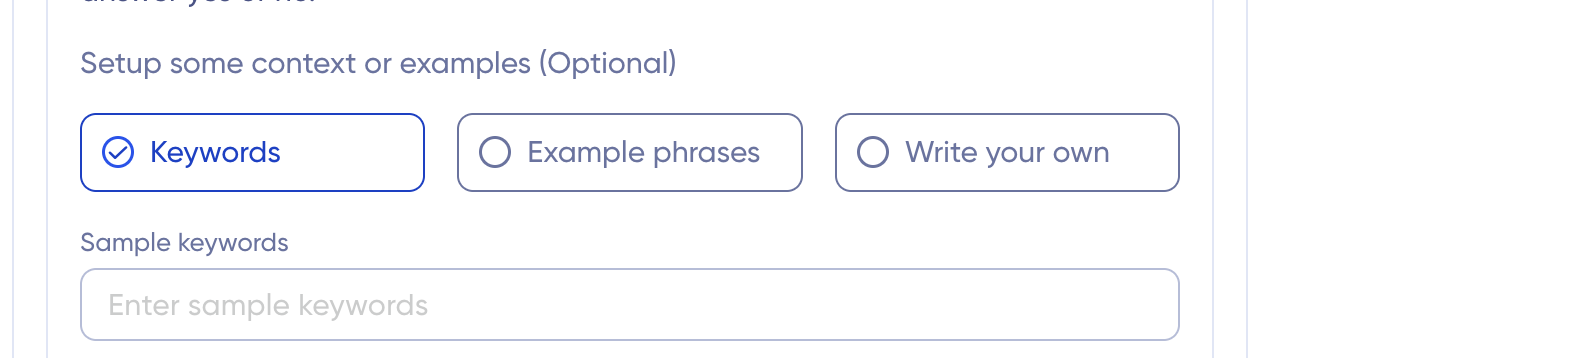
Or check certain phrases and then add example phrases. You can add multiple phrases here.

Or add the sentences presence or absence you want to check by clicking on “Write your own.”

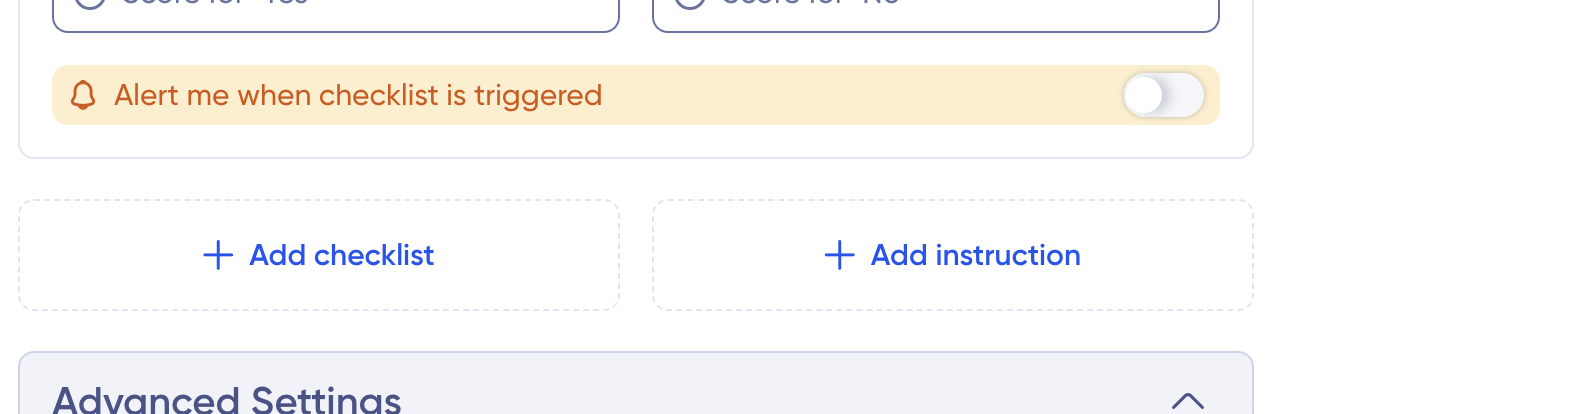
Next, configure the score mapping. If you wish to score the presence or absence of checklist, choose “Yes” for presence and “No” for absence accordingly. You can also enable alerts to notify you whenever a checklist occurs by switching on the toggle “Alert me when the checklist is triggered.”

Then start adding the checklist and instructions.
- Checklist: You can add multiple checklist instances that you want to check if it occurred or not.
For example: “User is greeted at the start of the conversation.”
- Instruction: Add any additional instruction you want to add. You can add multiple instructions between two checklists or before a checklist to provide additional information and context which has to be applied to the following checklist.
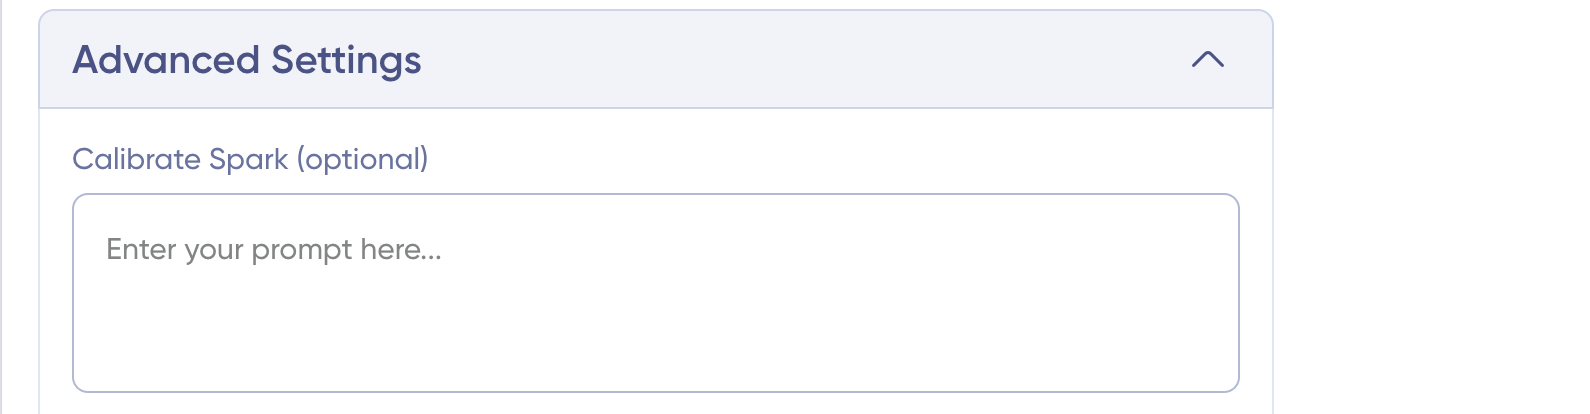
In the advanced settings, add further instructions to calibrate the Spark.
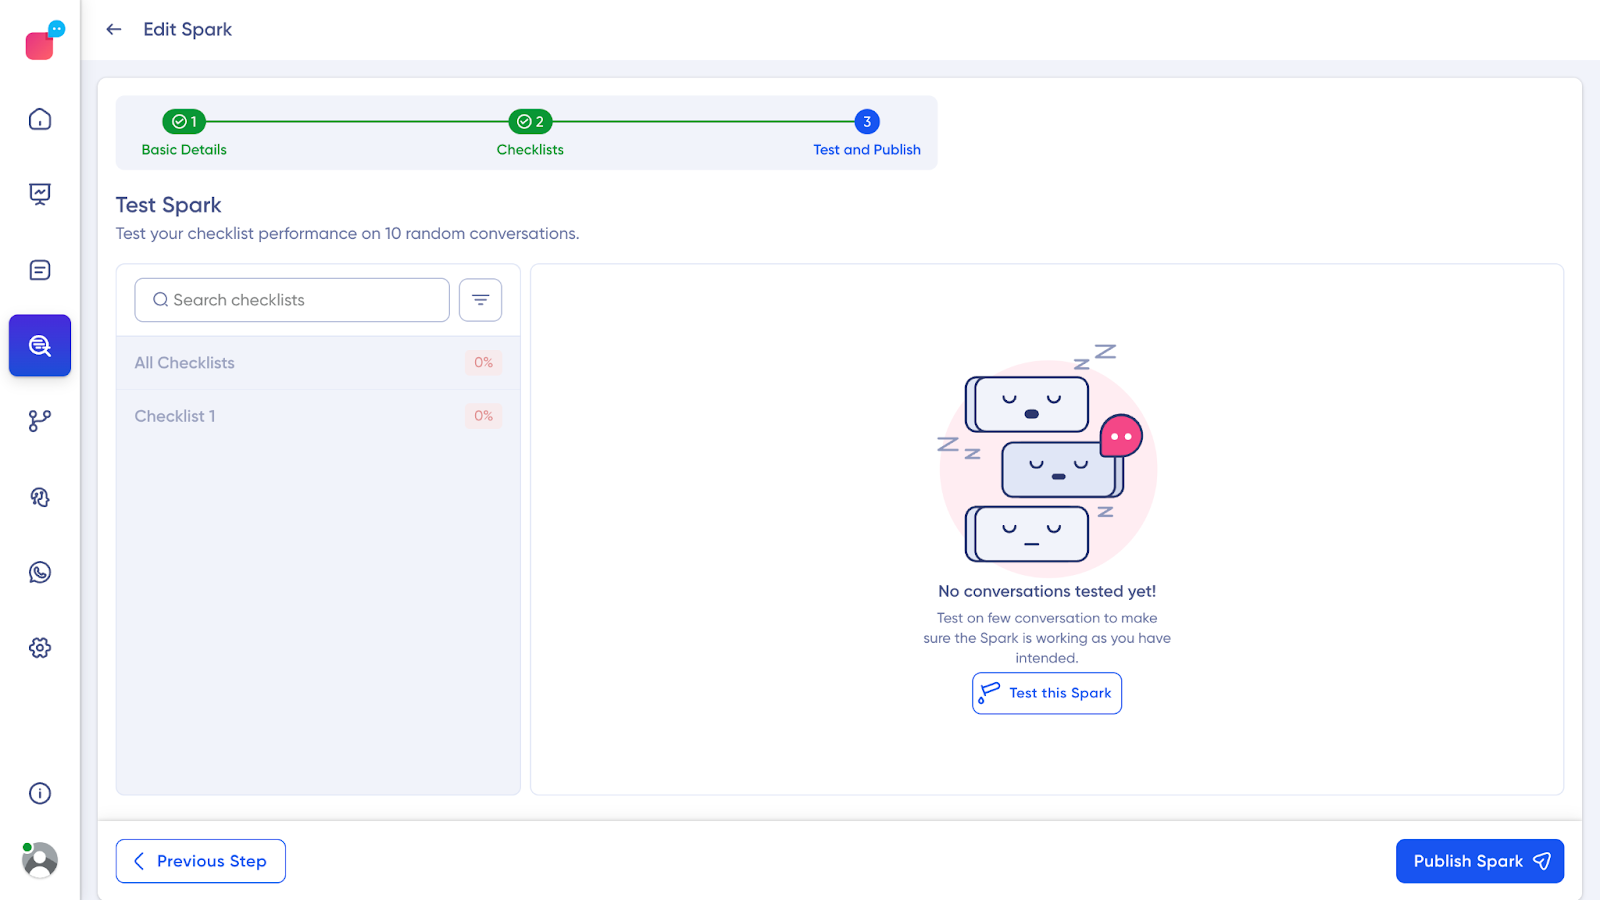
After you have added all the details, you can either save it as a draft to come back later for editing. Or you can go ahead and test the spark, by clicking the test this Spark and post that you can publish it.
The Spark will get enlisted on the All Sparks page, then just turn on the Spark on the main dashboard for the AI to start auditing.
Sparks Overview
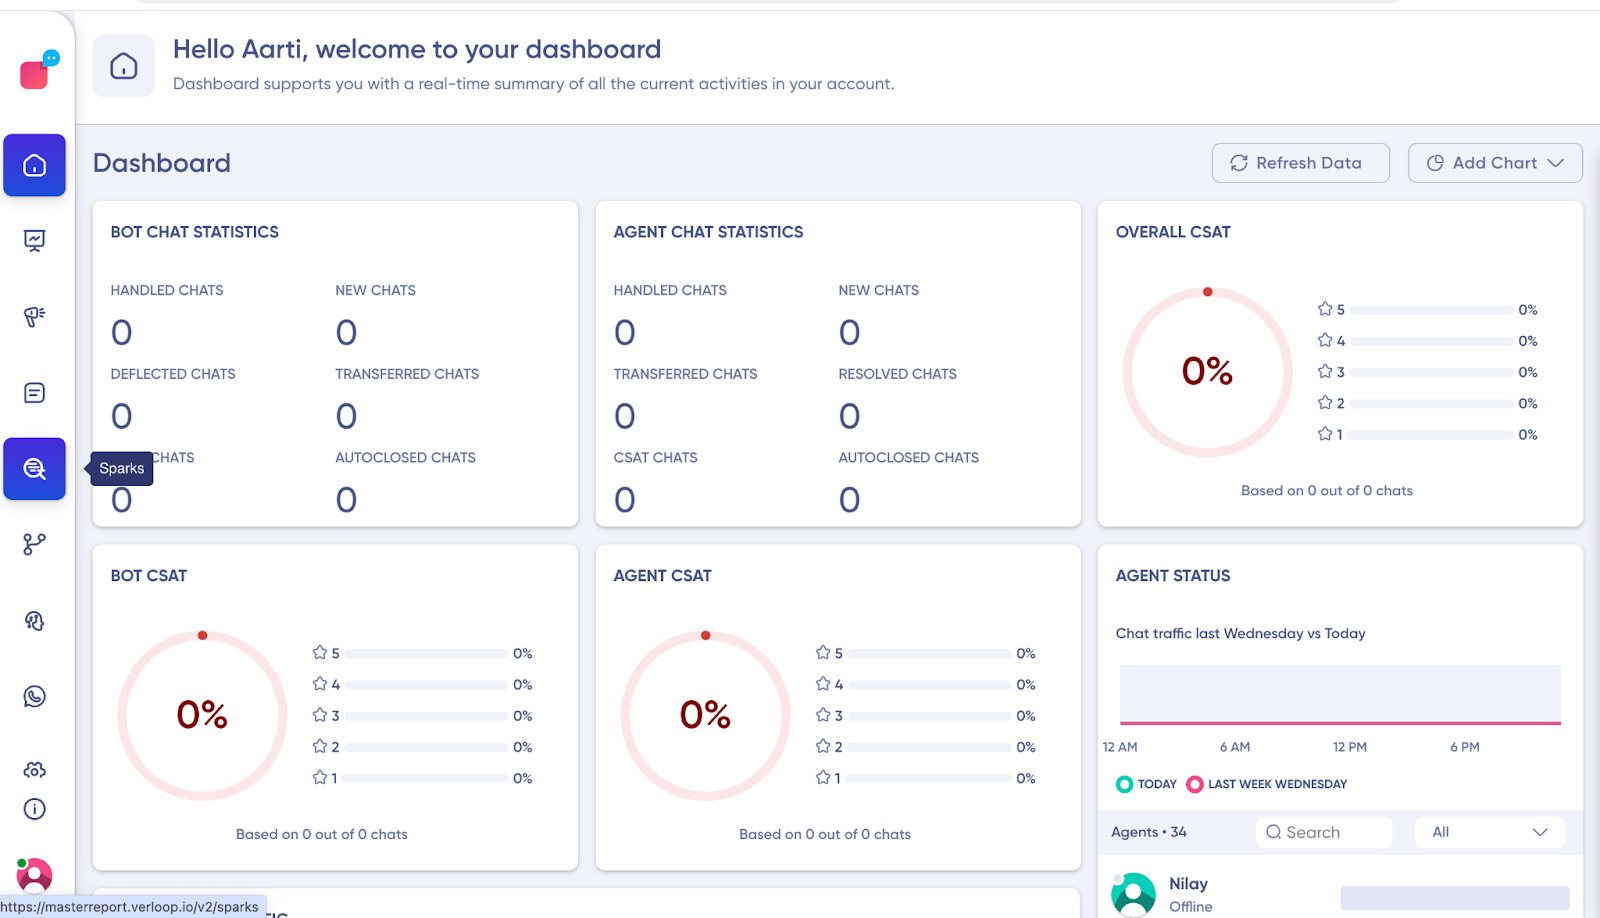
First, you will need to go to the Sparks dashboard on the Verloop.io dashboard. Click on the Sparks icon enlisted on the left side panel of the dashboard, as shown below.
Once you click on the Sparks icon, you will see the portal of Sparks with 2 dashboard views. One for All Sparks, which has all the Sparks enlisted and their corresponding data. The second dashboard Analysis will showcase all the created Sparks analysis reports.
All Sparks
In all Sparks section, you can view the following data:
- Spark Name: The Sparks’ name provided during the creation process.
- Description: The description of the Sparks added during the creation process.
- Category: The category of the Sparks added, like escalation, compliance, greeting, professionalism, etc. You can filter this based on the category by clicking on the below arrow beside the category.
- Status: The status of the Sparks, for example, if it is the draft phase, live or inactive. You can filter this based on the status by clicking on the below button beside the status.
- Created on: The date on which the Sparks was created. You can filter this based on the date by clicking on the below button beside the created on.
- Actions: Action is a toggle for switching on and switching off the associated Sparks
- Three dot menu: The three-dot menu gives you the option to either edit the Sparks or duplicate it.
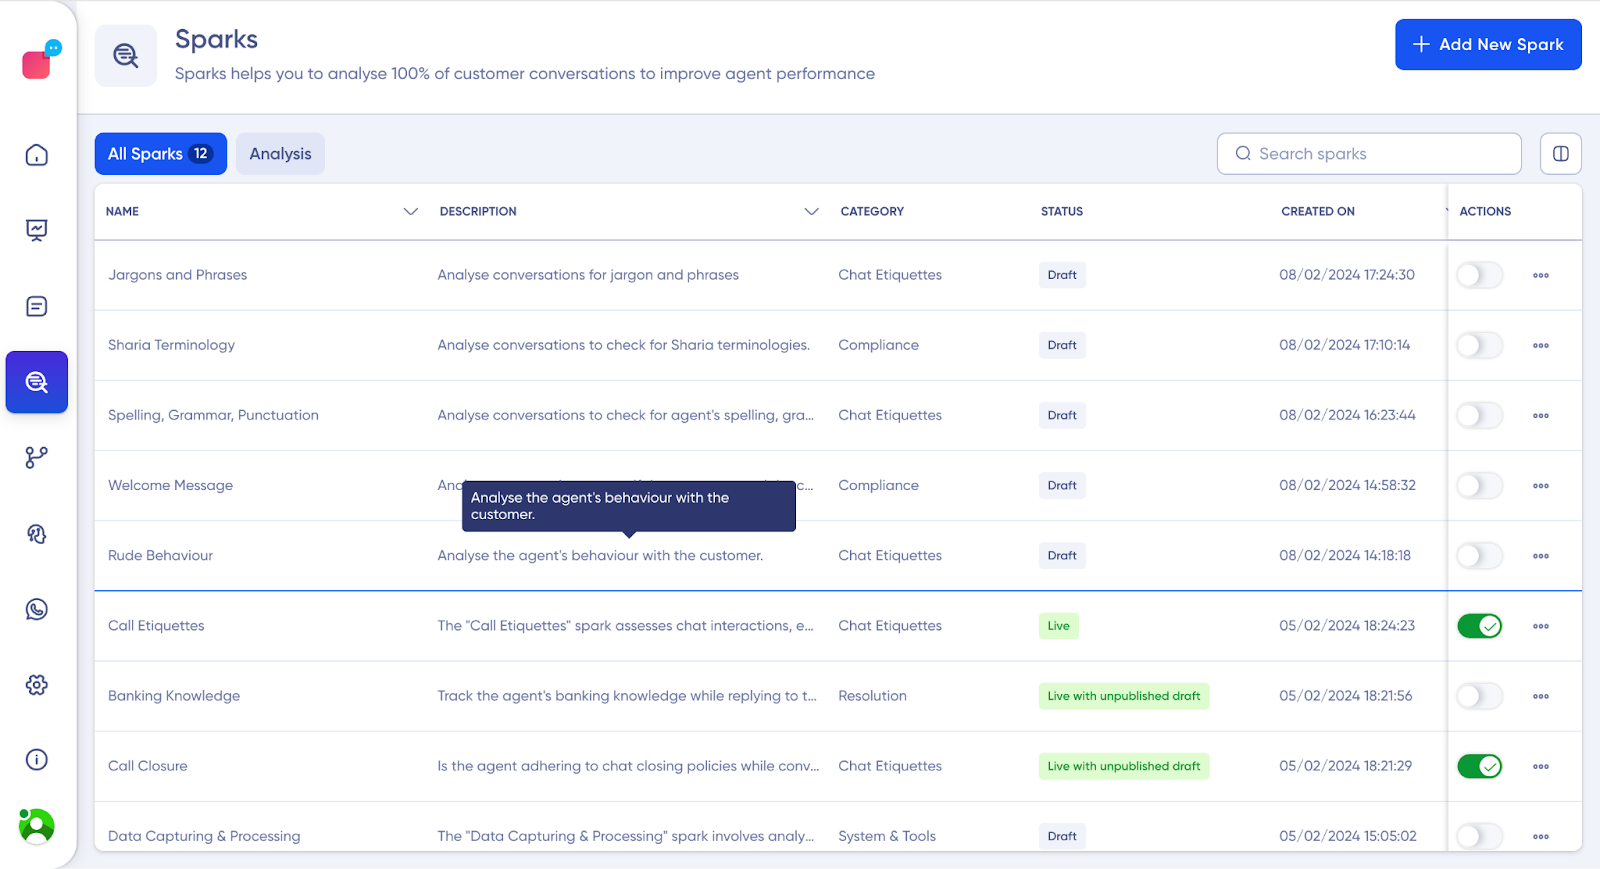
You can even search for Sparks by name by using the search console in the dashboard.
Analysis
The analysis dashboard consists of widgets titled with category names and conversation table.
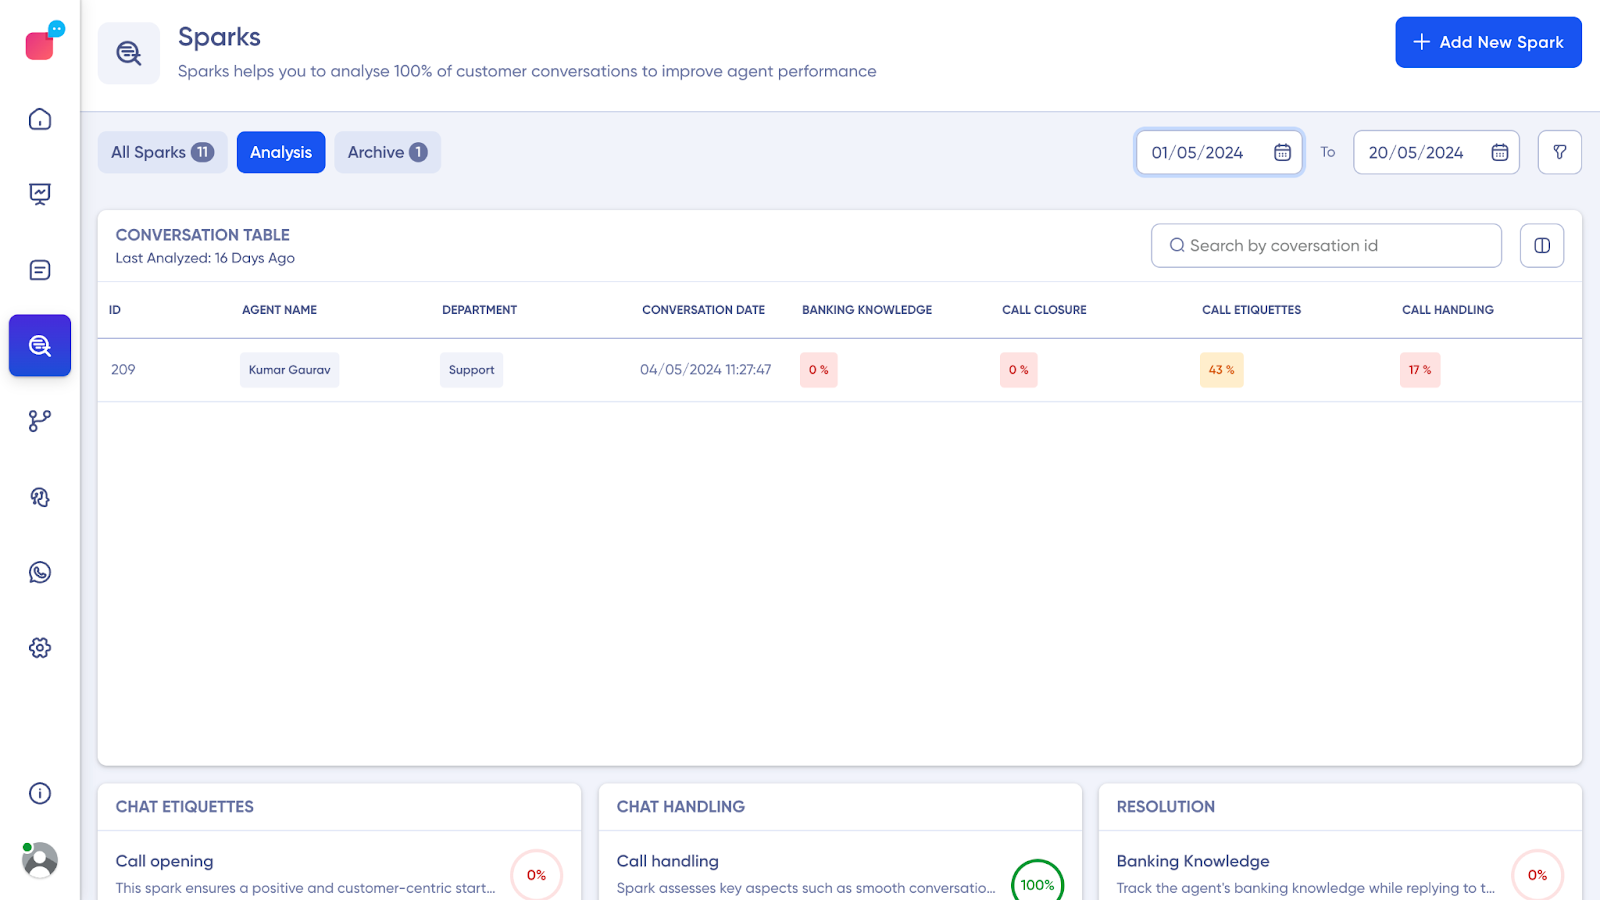
Conversation Table
The conversation table showcases Spark’s analysis for all agents.
Columns in table
- ID: ID of the conversation for which analysis is done.
- Agent Name: The name of the agent for whom the analysis is done
- Conversation Date: The date on which the conversation has taken place.
The follow-up columns show Sparks that are currently active or were active at any point during the conversation. Any new Sparks you add will automatically appear as a new column.
Widgets
It shows spark analysis on chats which are closed only.
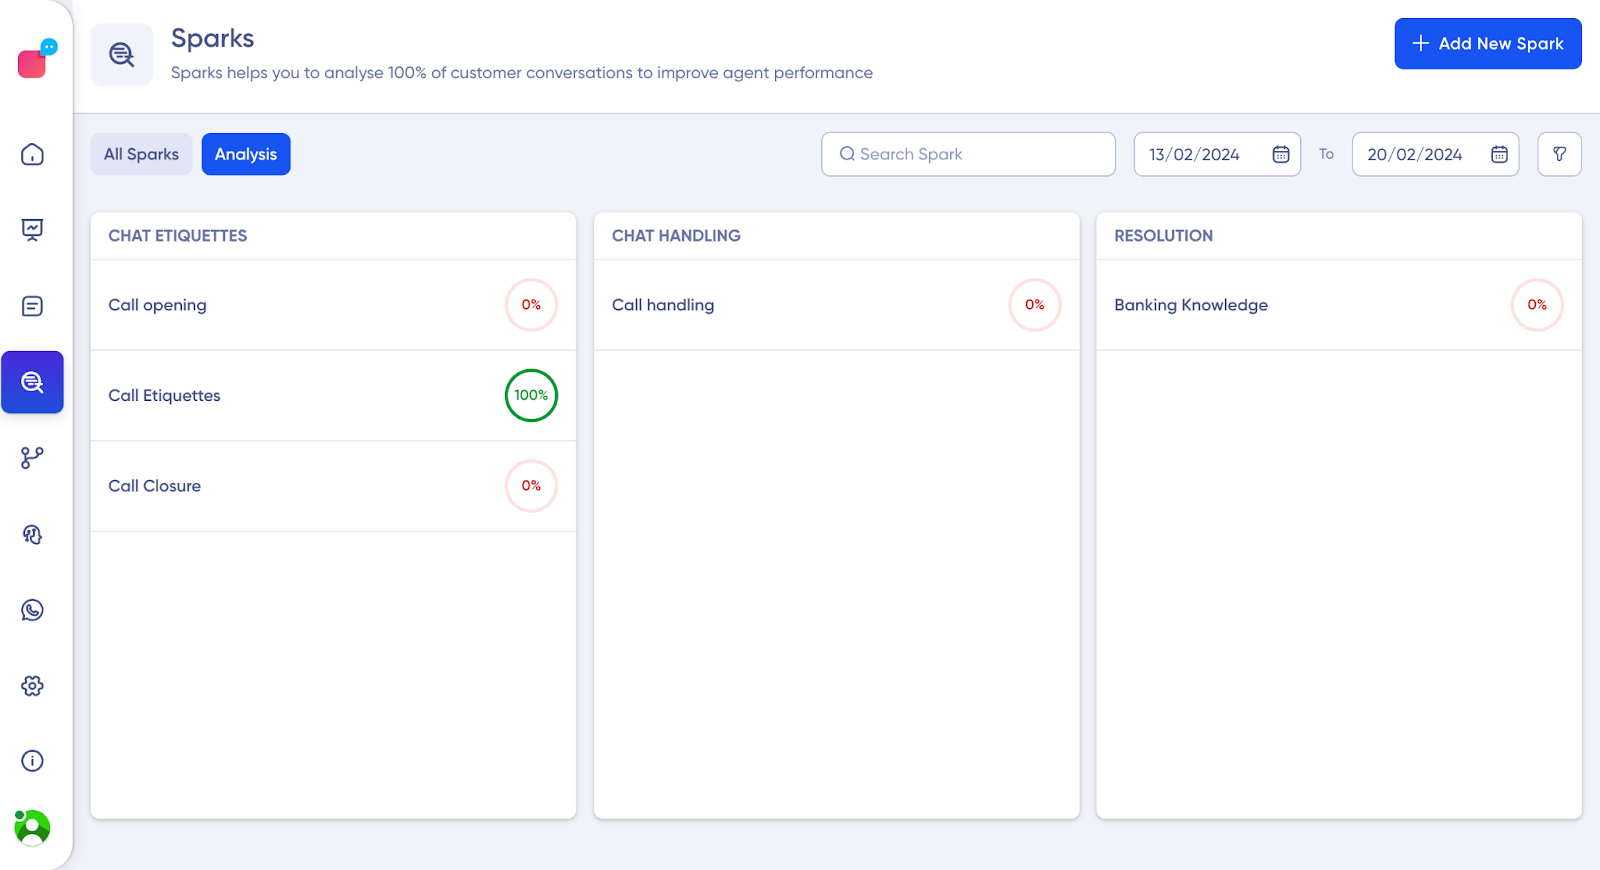
- The sparks are listed under respective category-specific widgets.
- The percentage displayed next to the spark indicates the proportion of chats in which the spark received a positive rating. For instance, if there were 3 chats with QA conducted and only 1 of them had all checklist items scored as either Yes or No, then the percentage would be 33%.
- After clicking on a spark, users are directed to a separate page where we list the associated checklists, along with the percentage of chats where each checklist scored as either Yes or No. In the analysis dashboard, you can view all instances of sparks categorised by their specific types and their occurrence frequency, including any associated alerts.
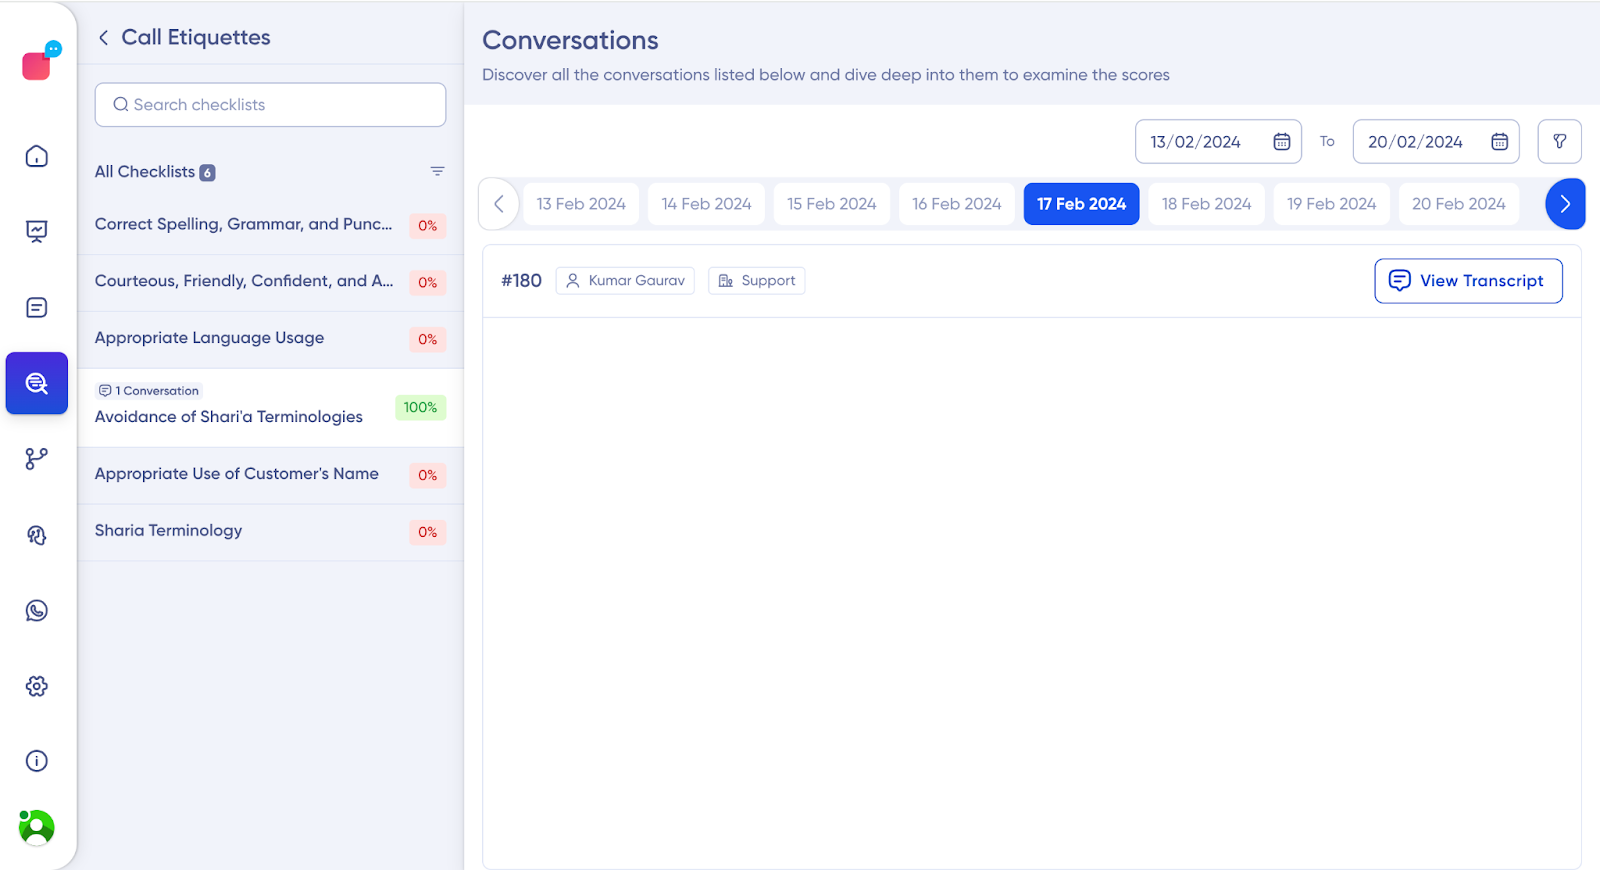
Click on the Spark you want to evaluate. It will show all the checklists it has analysed for that Spark, the number of times it occurred in percentage and the list of conversations where the instances occurred.
You can view the transcript of the enlisted conversations by simply clicking on “View transcript.” In the transcript, all the occurred Spark will showcase with the associated message and the associated transcripts.
Filters
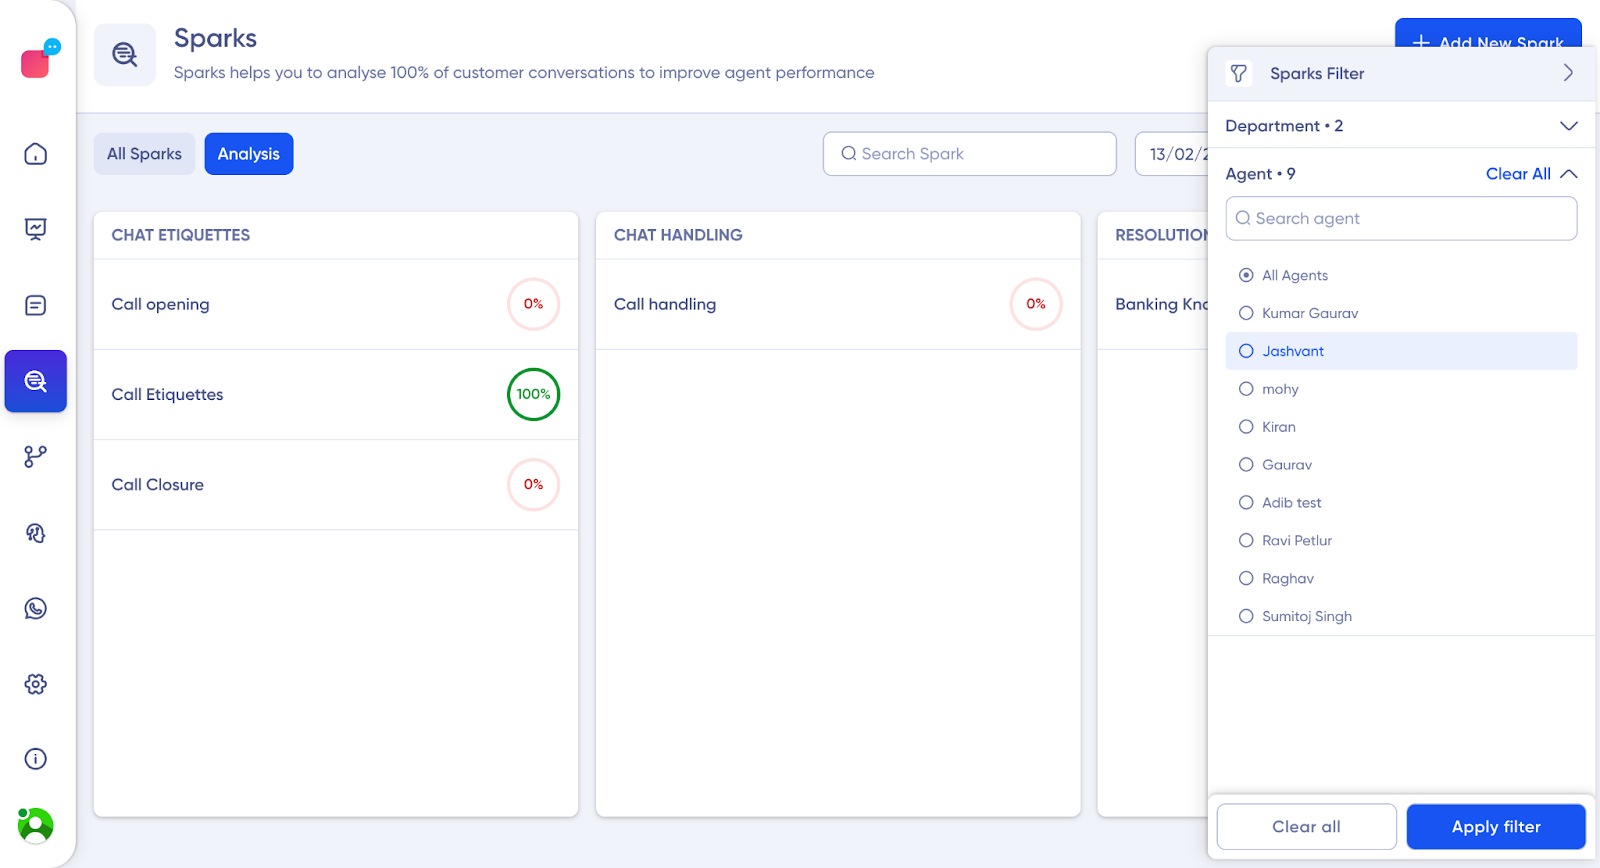
Choose the filters according to the Agent’s name, department, or both to refine the Sparks categories you wish to view, then click “Apply Filter.” To clear all filters, select “Clear All.”
Channels Supported
- Chat
- Voice
Filters
- You can locate a Spark by its name using the search function.
- You can filter out the Sparks based on date range.
- The overall filter is available for:
- Department: Check Sparks for specific departments.
- Agent: Check Sparks for the specific agent
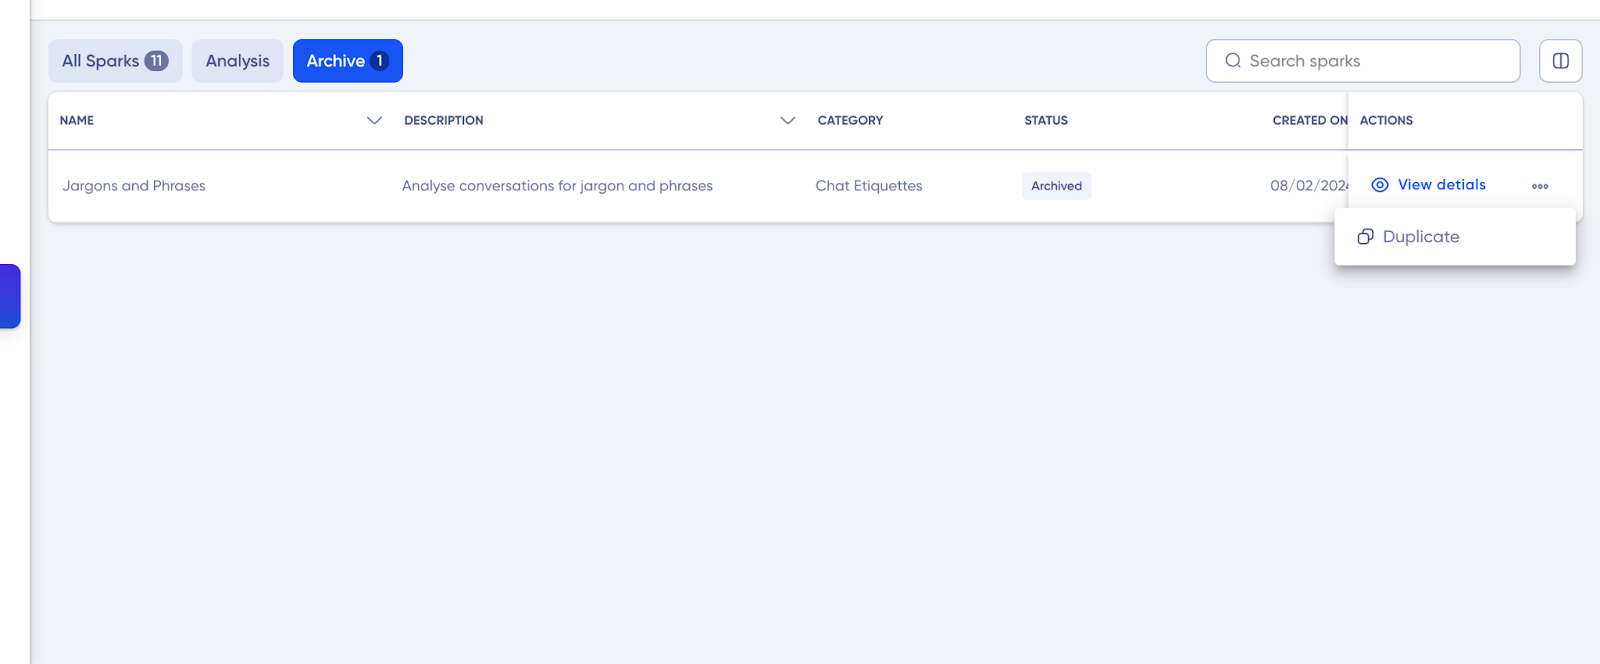
Archive Sparks
You can even archive Sparks. Once archived, the Sparks will become inactive and inaccessible. If you want to reuse the Spark, click on the 3 dot menu and duplicate the Spark.