The Webhook block is one of the most powerful features of Verloop.io recipes. Using webhook blocks, you can tightly integrate the bot’s flow with your business logic.
In order to use the webhook block, you need to set up a server which consumes HTTP requests and sends responses in a Verloop-specified JSON format.
Over the course of this article, we will explain how to configure webhook blocks and set up a compatible server. To know about request and response formats and sample code check out https://github.com/verloop/recipe-wehook-examples
Components of a Webhook block
The webhook block has three configurable components.
- API Url
- Request Headers
- API Response
Configure a Webhook block
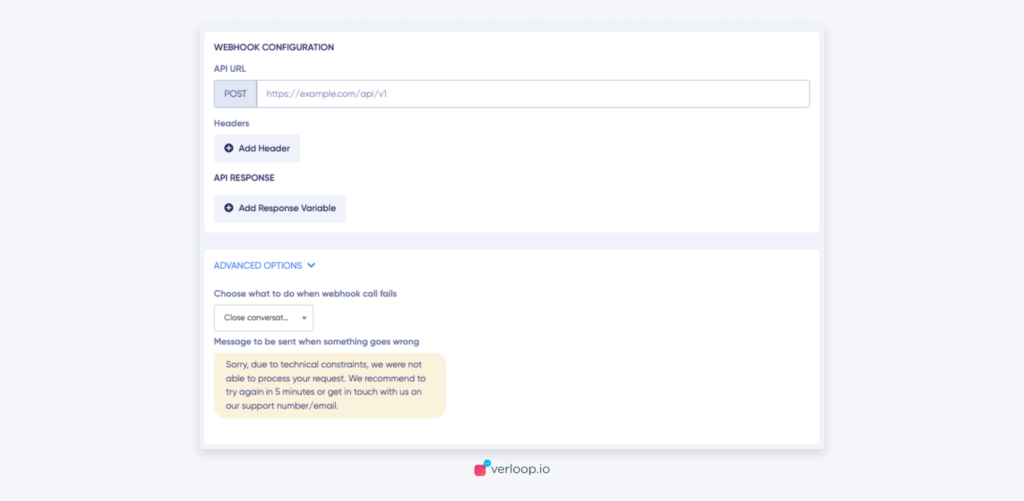
API URL
This specifies the API endpoint where your HTTP server is available. We strongly suggest it should have an HTTPS schema. Only domain names are allowed and IP addresses are not allowed. The server should accept requests of type application/JSON and return responses of type application/JSON.
Request Headers
You can specify custom headers to be sent along with the request. For example, you can set up and configure an Authorization header to authenticate Verloop webhook requests.
API Response
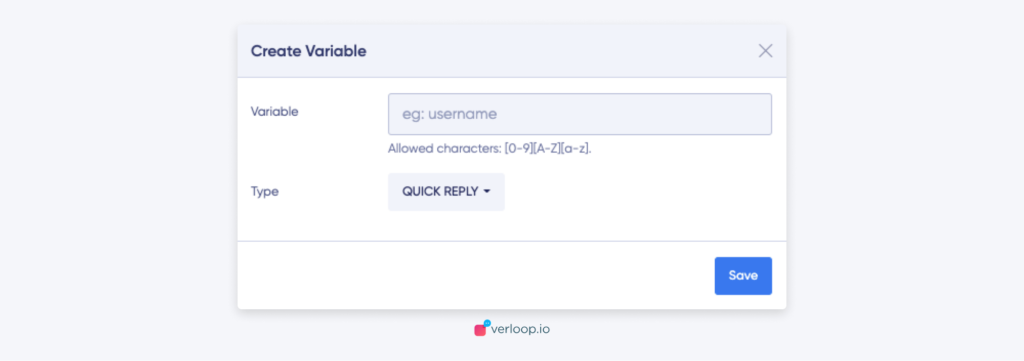
The response of the API should be in application/JSON format. The response can be used to dynamically construct other recipe components like Quick Replies, Button Blocks and Slider Blocks.
By clicking on Add Response Variable you can choose the name and type of variable to be used to construct the dynamic blocks. When the HTTP server sends a response, it will be validated and checked for the presence of these response variables.
The response can be used to change the value of any variable defined for the recipe and to guide the bot to go to a particular block.
For more details on request and response formats check out our repository at https://github.com/verloop/recipe-wehook-examples. This repository also has sample code for creating HTTP endpoints in python and javascript.