Verloop.io also supports exporting data directly to your CRMs via Zapier.
Zapier is a service which helps you in interconnecting apps. You can connect Verloop.io with other apps like Hubspot, Google Sheets, Gmail, Active Campaign, Pipedrive etc…
Here we show you how to connect Verloop.io with Google Sheets. This article explains the steps involved in the process with screenshots of the relevant screens.
Inside your Zapier dashboard, click on Make a zap! to start creating a new workflow.
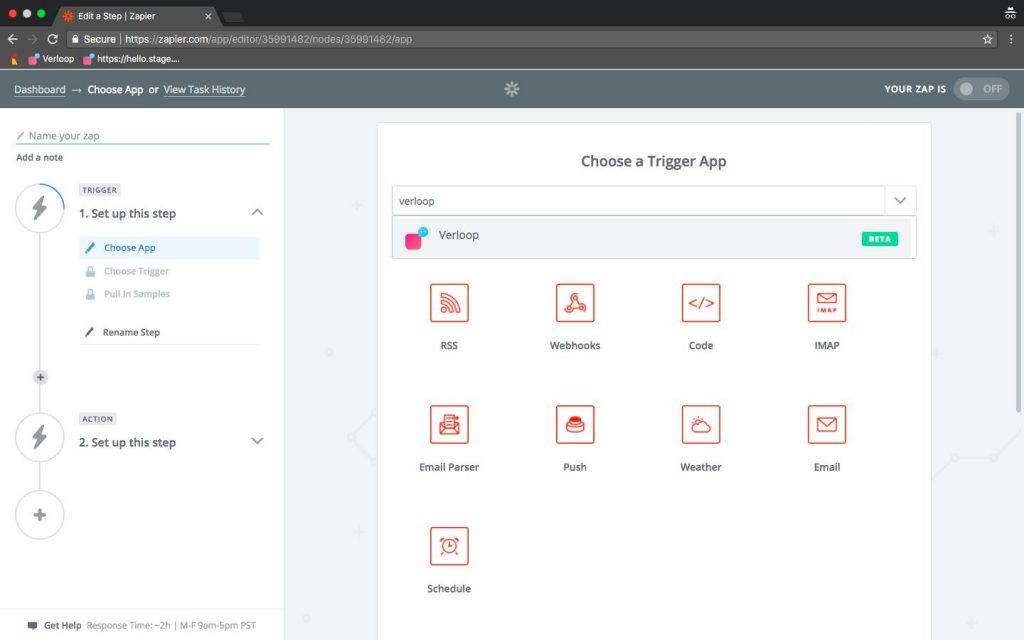
Choose Verloop.io Trigger
Search and select Verloop.io to use as the trigger. If you are not able to find Verloop.io, use this link to get an invite.
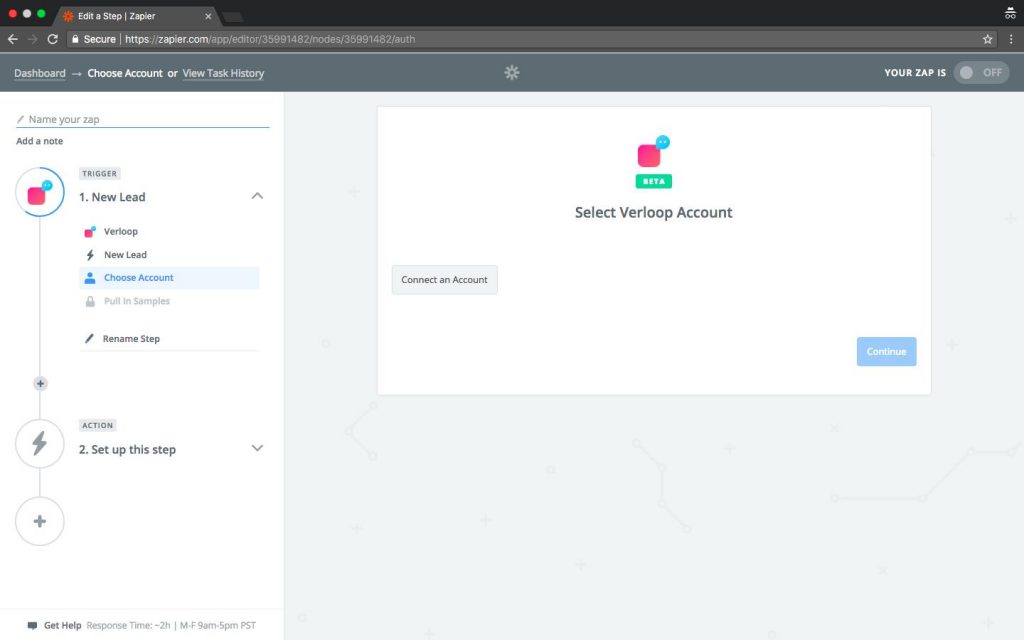
Connect Verloop.io Account
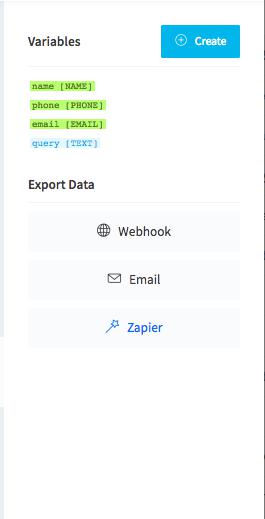
Now connect your Verloop.io account to this trigger. You can get the API key for Zapier integration from the recipe section of your Verloop.io account.
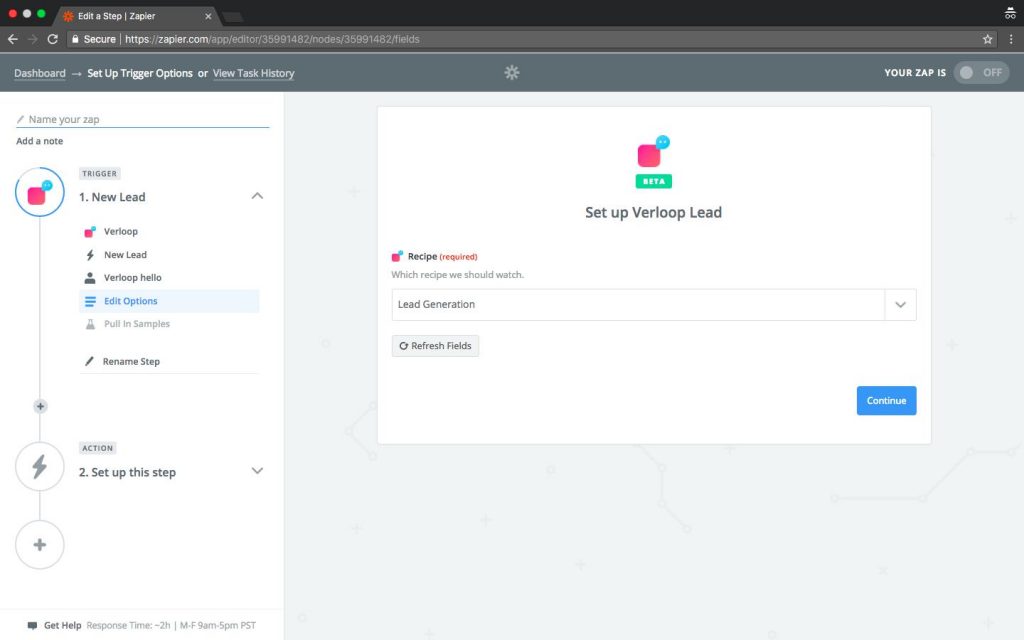
Choose Recipe
After adding the account, you have to select a recipe to connect to. Here we have selected the default Lead Generation recipe. We can verify that the connection is successful by fetching a sample lead.
Select Verloop Recipe
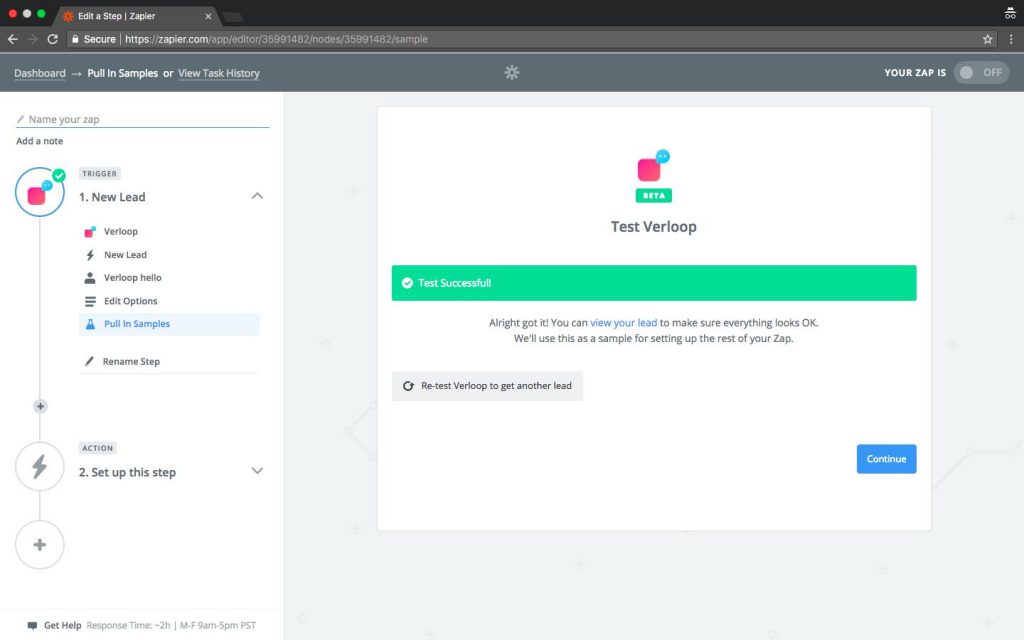
Recipe Connection Successful
Choose an Action
Now that the trigger selection is complete, we have to select an action for the workflow. In this step, we shall choose Google Sheets as the action. This means that all our lead generation data goes into a Google spreadsheet.
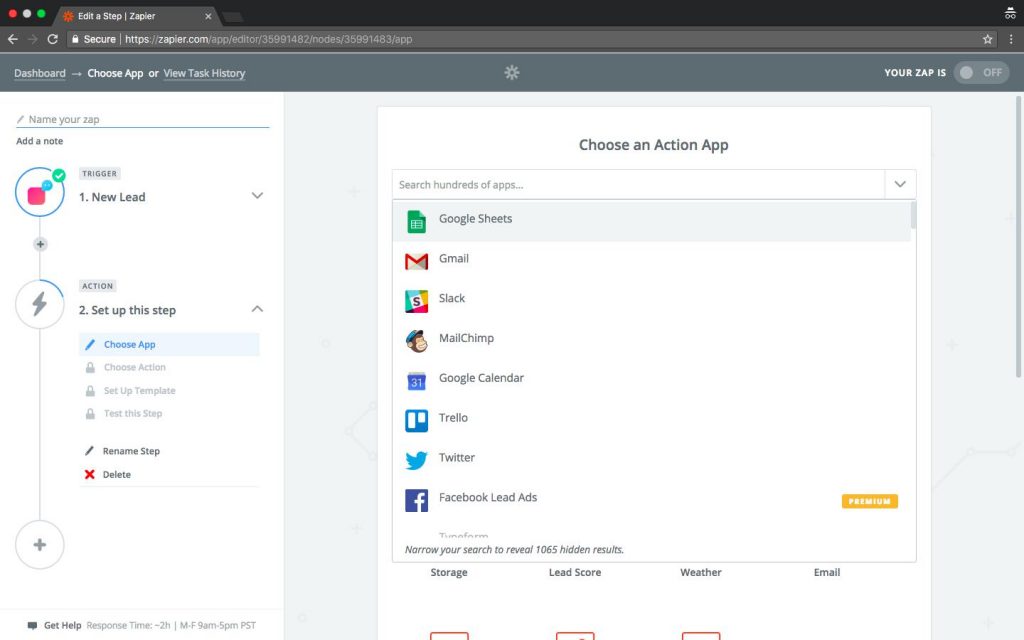
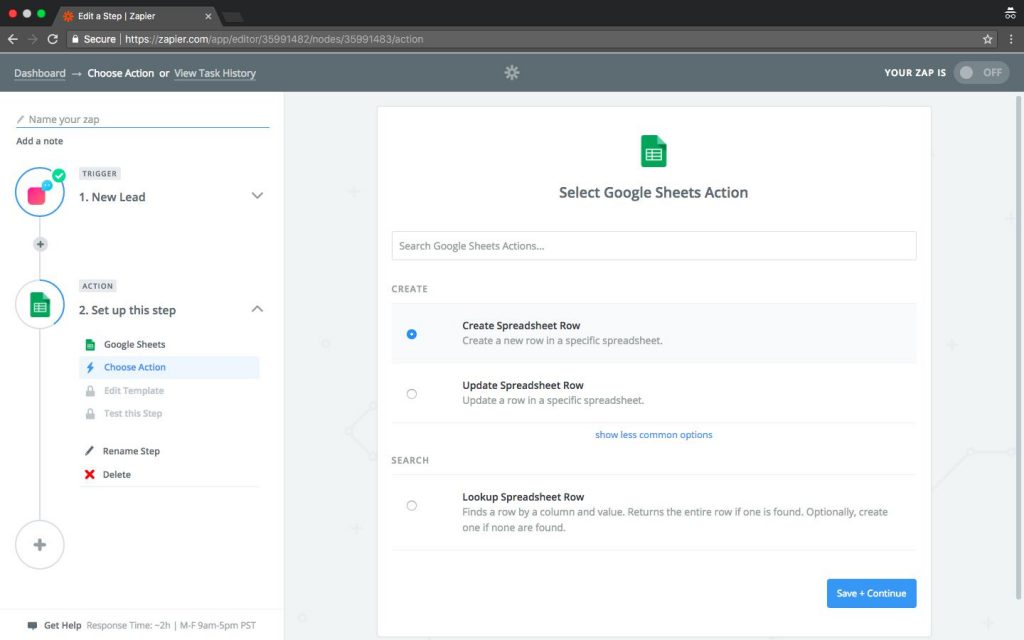
Choose Action
Whenever a lead is generated, it creates a row in a spreadsheet.
Select Google Sheet Options
Connect your Google account
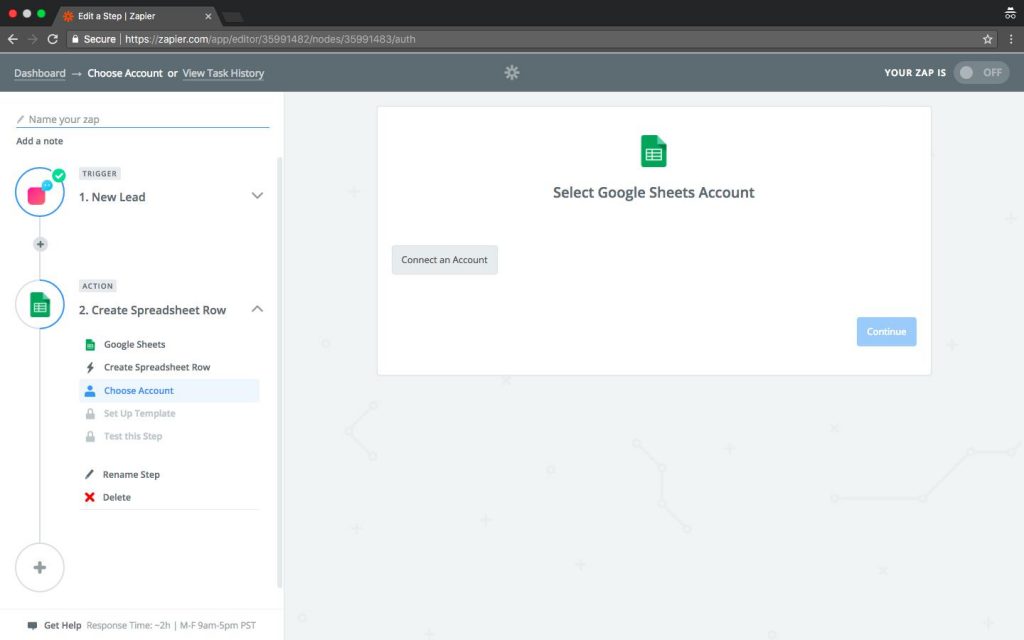
Connect your Google account
Choose a spreadsheet
After you connect your Google account, you can choose which file to connect to. You can also choose the sheet. Remember that the first row of the sheet should be the header and it should contain the names of the columns.
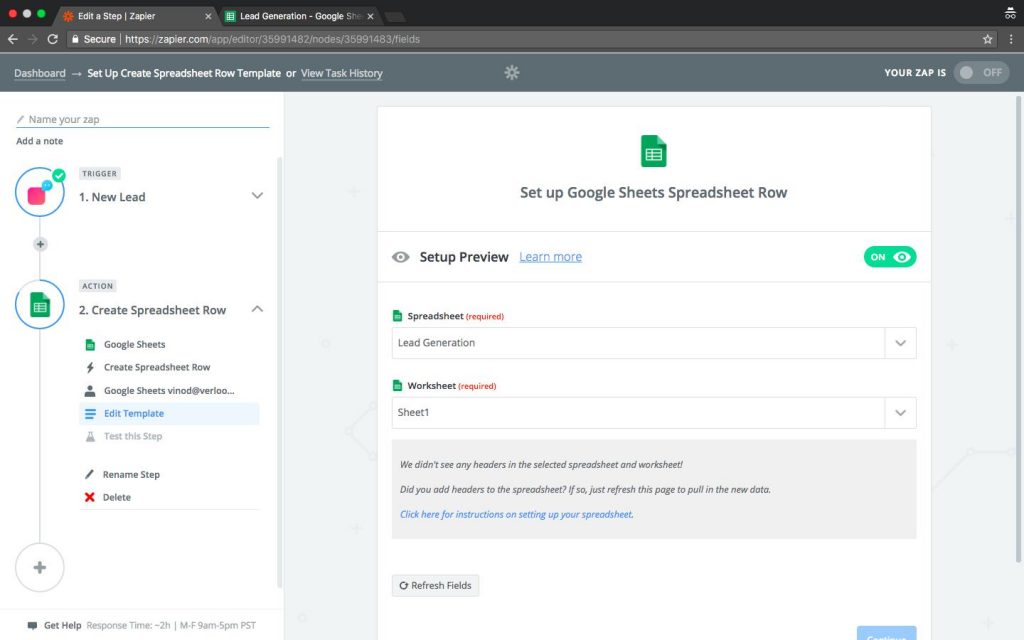
Connect to a Specific Sheet
Map Column Names
In the next step, you have mapped the fields given by Verloop to the column names of the spreadsheet.
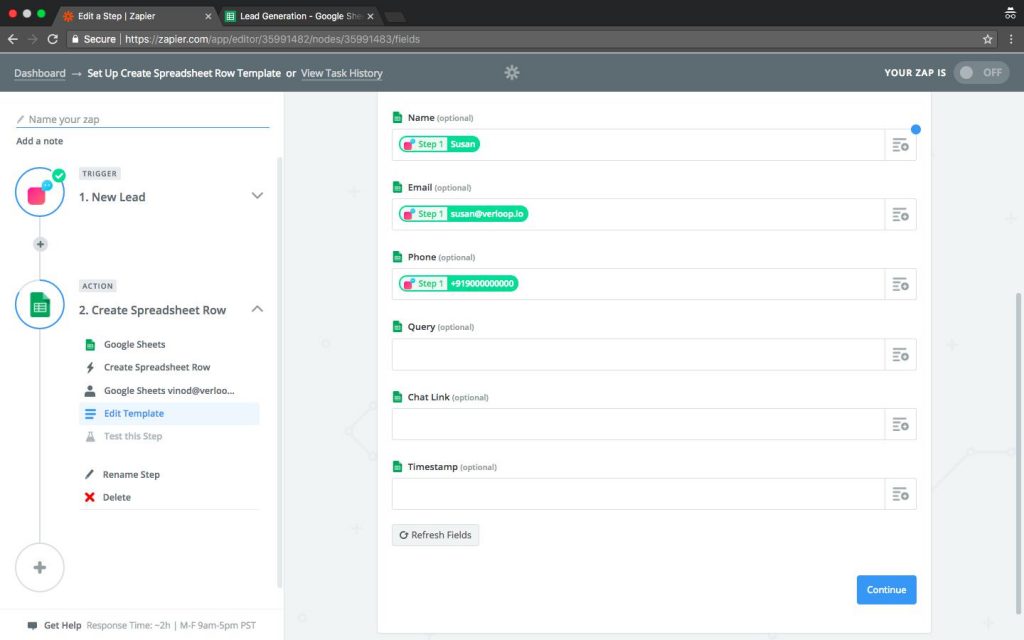
Map Column Names
Now you can send a sample row to sheets and verify that it’s working.
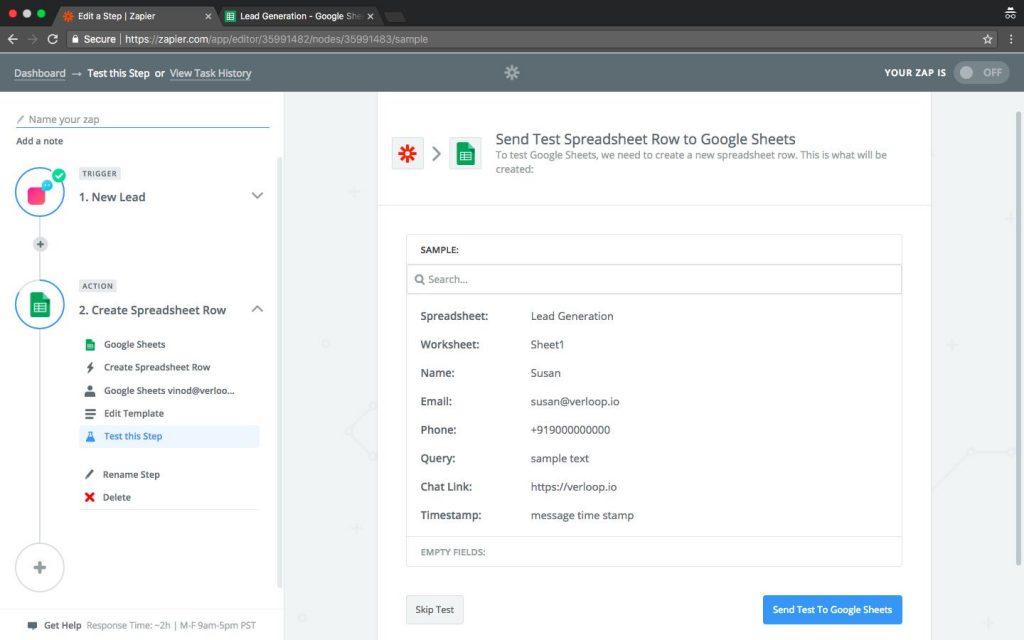
Send a sample row to the spreadsheet
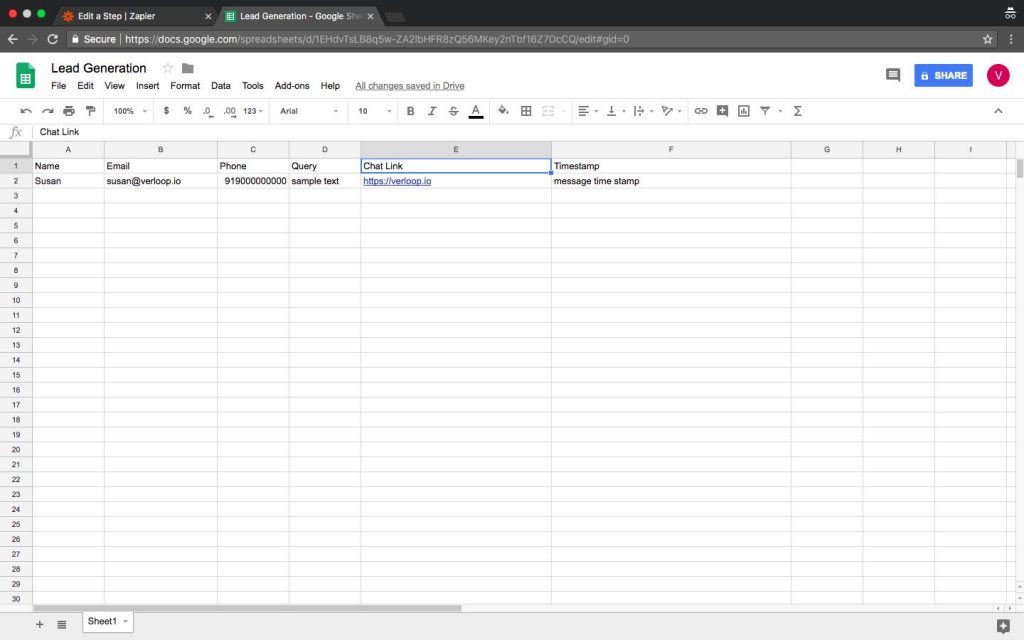
Verify sample row
As the last step in the Zapier dashboard, you have to Turn On this workflow. You can choose to turn off this integration anytime using the Zapier dashboard.
Verify Zapier Integration
If you have completed the Zapier integration successfully, the Zapier button in your Verloop dashboard should turn blue.