The Webhook block is one of the most powerful features of Verloop recipes. Using webhook blocks, you can tightly integrate the bot’s flow with your business logic.
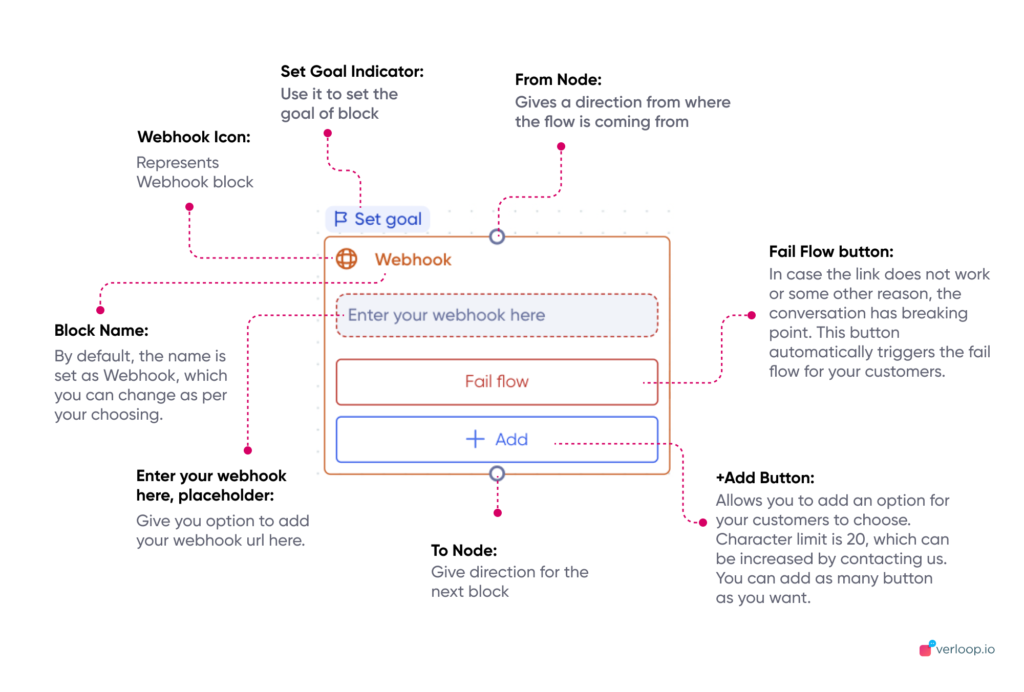
Block Elements
1. Set Goal Button: Use it to set the goal of the block
2. Webhook Icon: Represents Webhook block
3. Block Name: By default, the name is set as Webhook, which you can change as per your choosing.
4. Information icon: On hovering will showcase the information of the block.
5. 3-dot menu: You can use it to start the bot flow, delete the block or duplicate the block
6. Enter your webhook here, placeholder: Give you the option to add your webhook URL here.
7. Fail Flow button: In case the link does not work or for some other reason, the conversation has a breaking point. This button automatically triggers the fail flow for your customers.
8. +Add Button: Allows you to add an option for your customers to choose. The character limit is 20, which can be increased by contacting us. You can add as many button as you want.
9. Top Node: Gives a direction from where the flow is coming from
10. Down Node: To give direction for the next block
11. Settings button: Allows you to configure the Webhook header and the fail-safe message.
Note:
1. You can use the 3 dot menu on top to start the recipe from this block, duplicate the block or delete the block.
2. Webook block offers you options to configure the Webhook header for setting dynamic responses and the fail-safe message.
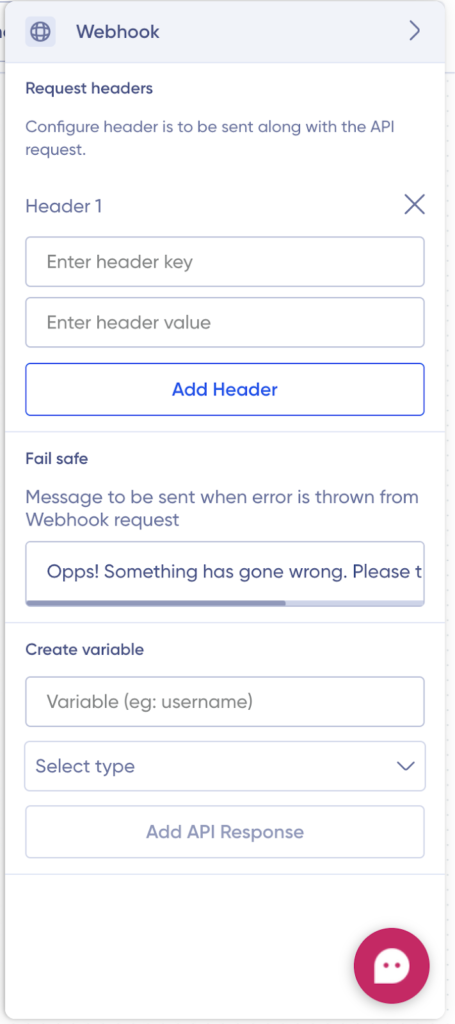
Webhook settings
Webhook settings have 3 configuration settings
- Configuring the header to be sent along with the API
- Setting the Fail-safe message
- Creating the variables
Let’s understand them:
Configuring the header
For configuring the header, you need 2 things
- Header key
- Header value
Add these to their respective placeholders, as shown below.
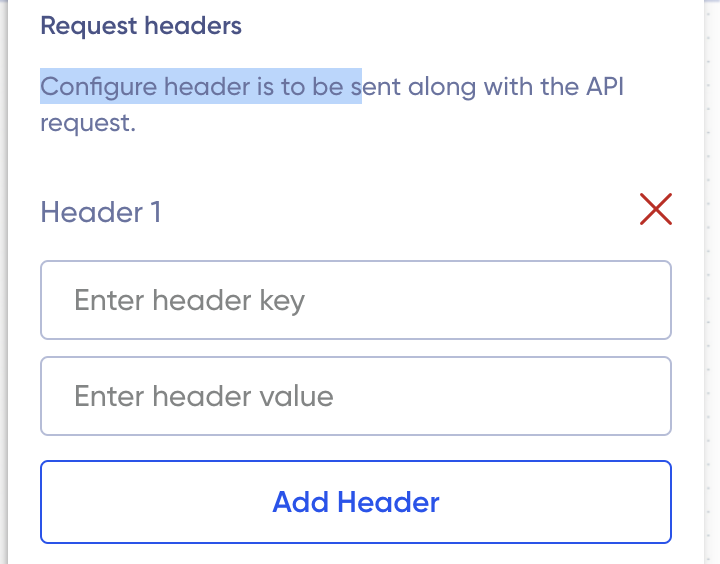
Once you have added them, click on “Add Header” to save the changes. You can even delete this by clicking on the red cross as shown in the above screenshot.
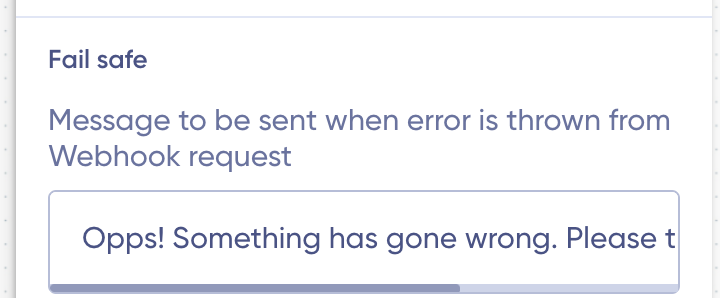
Setting the Fail-safe message
To set the fail-safe message, just click on the fail-safe message place holder and start editing the already existing message.
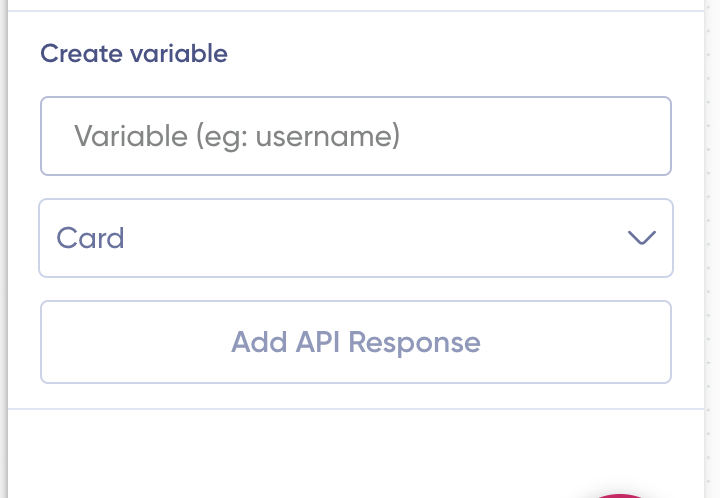
Creating the variables
- First, add the variable name in the variable name placeholder.
- Then select the block type for which you want to create the variable from the dropdown.
- Lastly, click click on “Add API Response.”
- Once this is added, you can use webhook blocks to power the regular blocks available in the recipe builder
- Question block, button block, slider block, list block, catalogue block